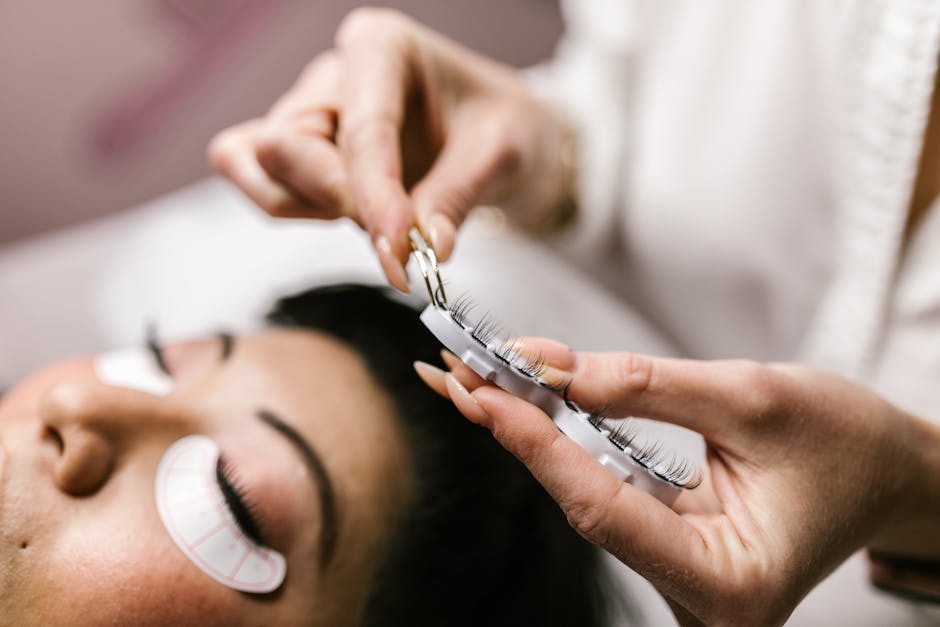
Your Classic Lash Extension Toolkit: Investing in Quality vs. Cutting Corners
A pro's breakdown of the essential tools and products for classic lash extensions, from tweezers to adhesives, and how to invest wisely.
4 min read
Building a Reputation, One Lash at a Time
As a salon owner, I’ve learned that whether you’re perfecting a balayage or applying a flawless set of lashes, the quality of your work is a direct reflection of the tools in your hands. It’s a lesson that holds true across every discipline in our industry. For classic lash artists, this is paramount. Your toolkit isn’t just a collection of supplies; it’s the foundation of your efficiency, your artistry, and ultimately, your profitability. Cutting corners might save a little upfront, but I’ve seen it cost artists clients, time, and reputation in the long run. Let’s break down the non-negotiables for building a professional classic lash toolkit that works as hard as you do.
The Foundation: Tweezers Are Your Most Important Investment
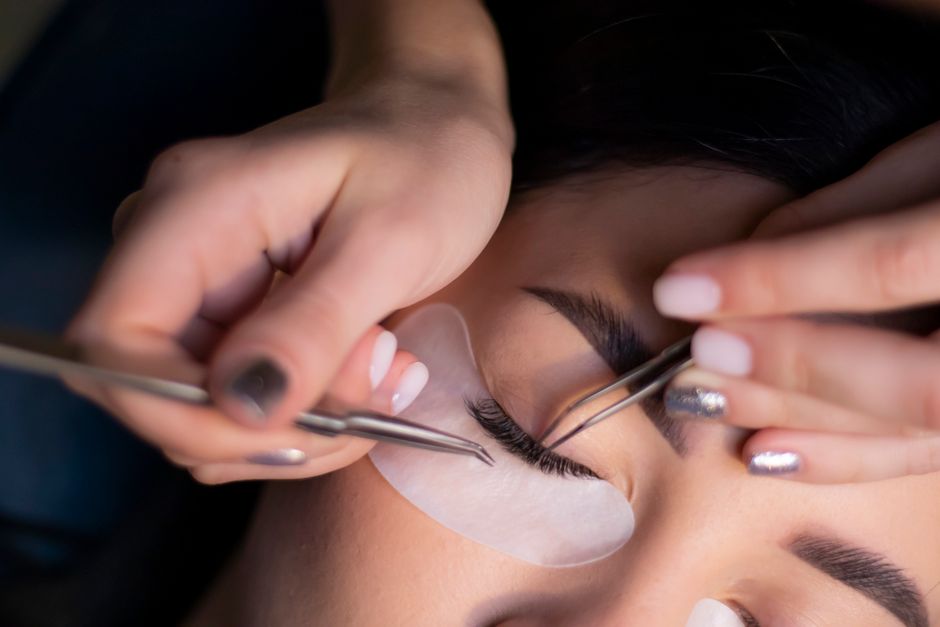
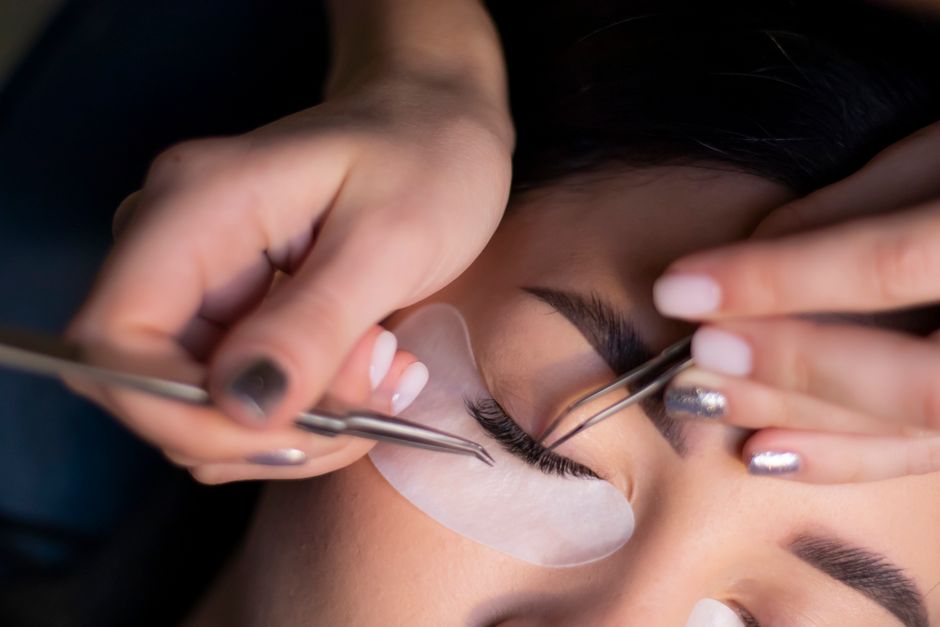
Before you even think about lashes or glue, let's talk about your primary tools: your tweezers. They are an extension of your hands, and the wrong pair can lead to hand fatigue, slow application times, and poor isolation, which is a cardinal sin in lashing. You need two main types for classic sets:
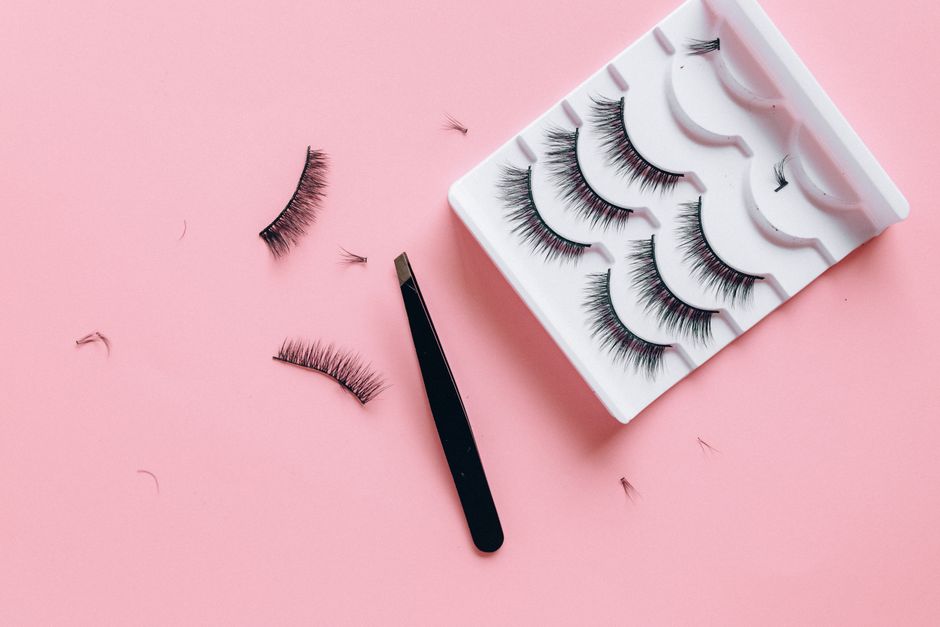
- Isolation Tweezers: These are typically straight or have a slight curve. Their sole job is to perfectly isolate one single natural lash. Look for a pair with fine, precise tips that close completely without any gaps. The tension should feel comfortable in your hand—not too stiff, not too loose. _
- Placement Tweezers: Often slightly curved or boot-shaped, these are for picking up and placing the extension onto the isolated natural lash. The "sweet spot" or grip point is crucial here. You need to be able to pick up an extension without damaging it and have total control during placement.
My Business Tip: Don't buy the cheapest option. Invest in high-quality, medical-grade stainless steel tweezers from a reputable lash brand. Test the tension and grip before committing. And always, always have a backup pair of each. Dropping your favorite tweezers mid-service without a replacement is a nightmare that can derail your entire schedule. Precision here directly translates to speed, and more efficient appointments mean more booking availability.
The Heart of the Service: Demystifying Lash Adhesives
If tweezers are your hands, adhesive is the lifeblood of your service. The world of lash adhesives can be intimidating, but understanding the key variables will empower you to choose the right one for your environment and skill level.
Key Adhesive Properties to Understand:
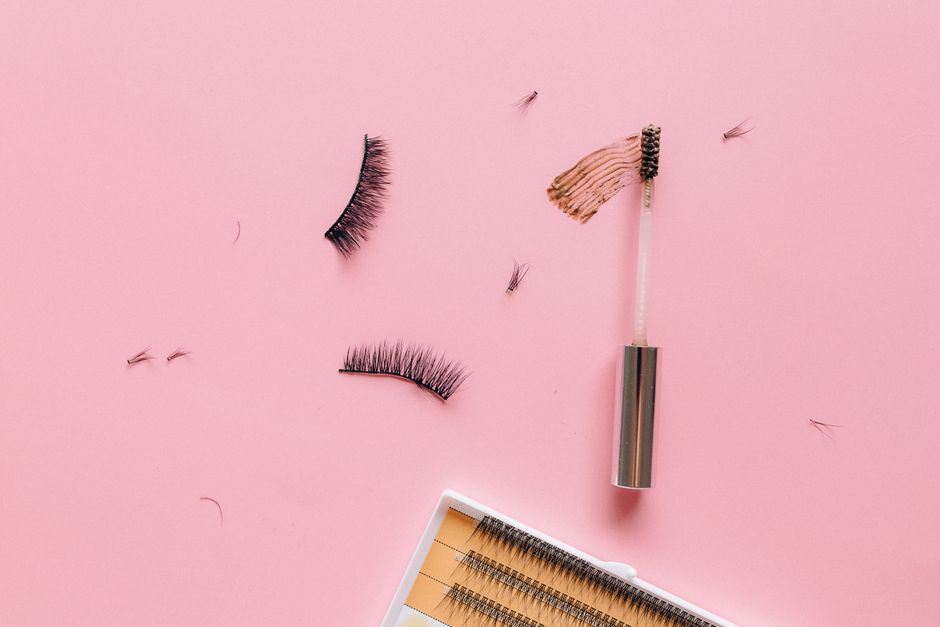
- Dry Time: This ranges from 0.5-1 second for advanced techs to 2-3 seconds for beginners. Be honest about your speed. Using an adhesive that’s too fast for you will result in poor attachment and terrible retention because the glue will cure before you’ve perfectly placed the lash.
- Viscosity: This refers to the thickness of the adhesive. A thinner viscosity allows for a seamless bond, while a thicker one can be a bit more forgiving for beginners.
- Fumes & Flexibility: Look for adhesives with lower fumes for client comfort and good flexibility post-cure to prevent lashes from feeling stiff and brittle.
My Business Tip: Your room's environment is a silent partner in every lash set. Purchase a hygrometer to monitor the temperature and humidity of your workspace. Every professional adhesive has an optimal range. If your room is too humid, the glue will cure too fast; too dry, and it will cure too slowly. This isn't a "set it and forget it" product. Buy your adhesive in small bottles and replace it every 4-6 weeks after opening to ensure maximum freshness and performance. This is one area where bulk buying is not your friend.
The Stars of the Show: Selecting Your Classic Lashes
The extensions themselves are where your artistry shines. For classic lashing (the 1:1 application method), you'll need a solid inventory of single lashes. Here’s what to stock:
- Material: The industry standard is PBT (Polybutylene Terephthalate). It’s a high-quality synthetic fiber that holds its curl and comes in finishes often marketed as "mink" or "silk" to describe their sheen (matte vs. glossy).
- Diameter: For classic sets, the most common diameters are 0.12mm, 0.15mm, and 0.18mm. It's critical to assess the client's natural lash health before choosing a diameter. Overloading a fine natural lash with a heavy extension is a recipe for damage. Having a range allows you to customize safely.
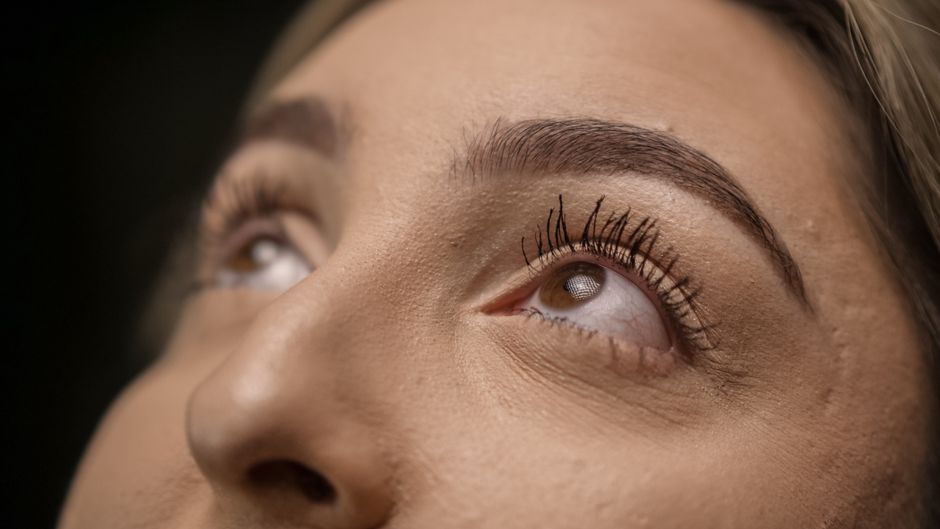
- Curls & Lengths: Start with the most popular curls, C and D. C curl offers a natural lift, while D curl provides a more dramatic, doll-like effect. Stock lengths from 8mm to 14mm. Mixed trays are a cost-effective way to build your initial inventory. As you learn your clientele’s preferences, you can start investing in single-length trays for your most-used sizes.
My Business Tip: Don’t just offer one "look." Use your consultation to map out different lengths and curls to create custom styles that flatter a client's specific eye shape. This level of customization is what turns a one-time client into a loyal regular who refers their friends.
Prep & Aftercare: The Steps That Guarantee Retention
A perfect application can be completely undermined by poor prep or a lack of client education. These products are not optional; they are essential for longevity and client safety.
Your Prep & Finishing Arsenal:
- Lash Cleanser/Shampoo: You must begin every full set and fill by thoroughly cleansing the client's lashes to remove oils, makeup, and debris. A clean base is non-negotiable for proper adhesion.
- Primer: After cleansing, a primer helps to remove any residual oils and balance the pH of the natural lashes, creating an optimal surface for the adhesive to bond to.
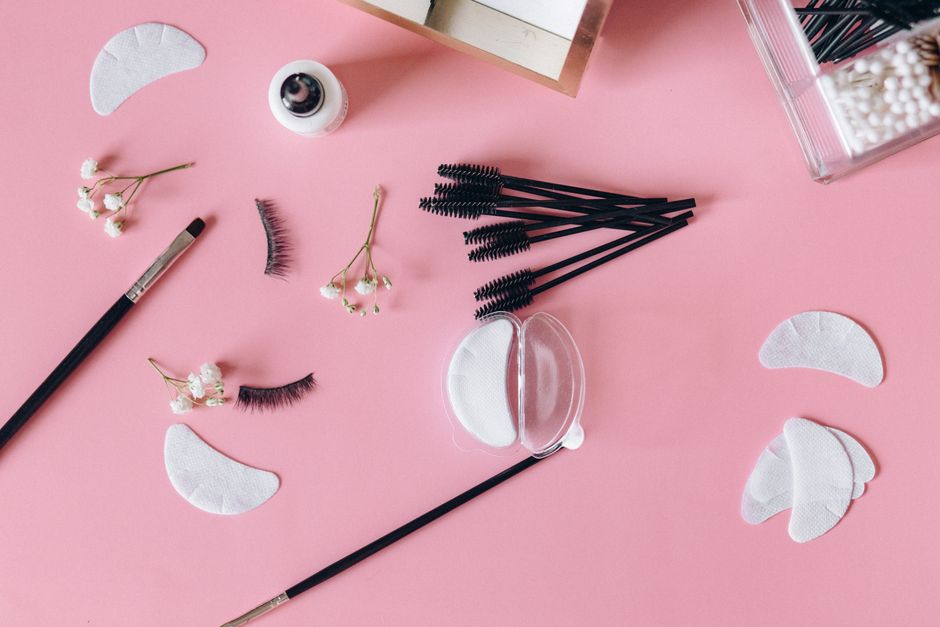
- Gel Eye Pads & Tape: These are for safety and comfort. High-quality, lint-free gel pads secure the bottom lashes and protect the delicate under-eye skin. You'll also need a gentle medical-grade tape (like 3M Micropore) to help secure the pads and tape back any tricky upper lashes.
- Nano Mister: At the end of the service, a nano mister releases a fine vapor of distilled water that helps to cure the adhesive instantly. This polymerizes the glue from the outside in, significantly reducing fumes and potential irritation for the client.
My Business Tip: This is your biggest retail opportunity. If a client leaves without an approved lash cleanser and instructions on how to use it, you’re doing both of you a disservice. Their retention will suffer, and you’re leaving money on the table. Package a simple aftercare kit (cleanser, brush, spoolies) and make it part of your post-service ritual. A platform like REZVA gives you a booking page that is open around the clock, so clients see your services and free times and book without messaging you.
The Supporting Cast: Ergonomics and Environment
Finally, let's not forget the tools that support you and the client experience. A shaky hand or an uncomfortable client can ruin a service.
- Excellent Lighting: A ring light or a glamour light with adjustable brightness and color temperature is a must. You cannot lash what you cannot see.
- A Comfortable Bed/Chair: Your client will be lying down for 1.5 to 2.5 hours. A comfortable, supportive lash bed or recliner is a major factor in the overall client experience.
- Your Own Ergonomic Stool: Protect your back! An adjustable stool with good lumbar support will save you from a world of pain and extend the longevity of your career.
- Adhesive Surface: A simple jade stone or crystal glue palette keeps your adhesive drop at a consistent, cool temperature, slowing the curing process just enough to give you time to work with it.
Building your professional lash kit is an ongoing process, but starting with a foundation of high-quality, reliable tools is the smartest business decision you can make. It demonstrates your commitment to your craft, ensures client safety and satisfaction, and empowers you to create the beautiful work that will keep your schedule full for years to come.
Frequently Asked Questions
How often should I really replace my lash adhesive?
Once opened, you should replace your adhesive every 4-6 weeks, without exception. Write the date you opened it directly on the bottle. Even if there's product left, the consistency and efficacy will degrade over time, leading to poor retention. Unopened bottles, when stored correctly, can last up to 6 months.
What's the most common mistake new lash techs make with their tools?
A common and costly mistake is not properly cleaning and disinfecting tweezers between clients, or not having a backup pair. Dropping and damaging your only pair of isolation tweezers can force you to cancel appointments. Additionally, adhesive buildup on tweezer tips can ruin your isolation and placement, so clean them meticulously after every single service.
Is it better to buy a pre-made student kit or build my own professional kit?
While pre-made kits are convenient for training, I strongly advise building your own professional kit piece by piece. Starter kits often include lower-quality tweezers and a slow-drying adhesive to make learning easier. To provide a professional-grade service, you need to hand-select high-performance tools and products that suit your specific environment and skill level. It's a better investment in the long run.
This article was produced with AI assistance and reviewed by REZVA.
- classic lash extension tools
- professional lash supplies
- lash artist business tips
- eyelash extension adhesive
- lash extension application
- beauty business growth
- salon inventory management
Take bookings for lashes & brows online.
Clients book themselves from your profile and a deposit covers the no-shows. Free to start, no card. Founding members get Pro free for 12 months, then their price is locked.
98
spots left of 100
12
months of Pro, free
0%
commission on bookings