
The Pro's Guide to Photographing Keratin Treatments for Your Portfolio
We’ve all been there. You’ve just spent three hours meticulously performing a keratin treatment. The client’s hair, once frizzy and unmanageable, now looks like a sheet of pure liquid silk. It’s a masterpiece. You grab your phone to snap a picture, but the photo that appears on your screen is… flat. The incredible shine is gone, replaced by weird reflections from your salon’s overhead lights. It simply doesn’t do your work justice.
In today’s visually driven market, the quality of your photos is just as important as the quality of your service. Your social media grid is your digital portfolio, your 24/7 advertisement. A stunning before-and-after of a keratin treatment doesn’t just show a result; it sells a transformation. It tells a story of confidence, ease, and luxury that potential clients are looking to buy into.
As a salon owner and colorist, I’ve learned that mastering hair photography is a non-negotiable business skill. It’s how we attract our ideal clients and command our prices. So, let’s break down how to capture those scroll-stopping, booking-generating photos of your keratin work.
Before the Camera Even Comes Out: Staging and Preparation
The best photos start long before you tap the shutter button. A little bit of prep work elevates a simple snapshot into a professional portrait of your skills.
Secure Client Consent and Set the Scene
First things first: always get your client's permission to post their photo. I have a simple digital release form that clients can sign during check-in. It’s professional and protects both of you. While you’re at it, guide them on their wardrobe for the “after” shot. A solid, dark-colored top or simply keeping the black salon cape on creates a beautiful contrast that makes the hair pop. Avoid busy patterns or bright colors that can distract the eye.
Prep the Canvas (The Hair!)
For the "after" shot, the final flat iron pass is your moment to create that glass-like finish. Use a high-quality iron and work in clean, precise sections. When it comes to finishing products, less is more. A heavy, oily serum can look greasy under lights. I prefer a super lightweight, aerosol shine spray, like the KEVIN.MURPHY SHIMMER.SHINE, misted from a distance. It catches the light beautifully without weighing the hair down.
Curate Your Background
Look at your phone's camera roll. Are your photos cluttered with messy color stations, other clients in the background, or a pile of foils on the counter? A busy background screams amateur. Designate a specific “photo spot” in your salon. It doesn’t need to be fancy—a clean, solid-colored wall, a nice patch of exposed brick, or a simple roll-down backdrop works wonders. This consistency will make your entire social media feed look more cohesive and professional.
Let There Be Light: Nailing Your Lighting and Angles
If you take away only one thing from this article, let it be this: lighting is everything. It’s the single most important factor in capturing the glossy, reflective nature of a fresh keratin treatment.
Find Your Light Source
Natural, indirect sunlight is the gold standard. Position your client facing a large window. The soft, diffused light will illuminate the hair evenly and eliminate harsh shadows. If your salon lacks good natural light (a common struggle!), a ring light is your best investment. Position it directly in front of your client, slightly above their eye level. This will create a gorgeous, flattering light and that desirable "catchlight" in their eyes, making the whole image feel more alive.
Pro Tip: Avoid the harsh, yellow-toned overhead fluorescent lights of the salon floor at all costs. They create strange shadows and can distort your beautiful color work.
The Art of the "Before" and "After"
Consistency is crucial for a powerful before-and-after. Take both photos in the exact same spot with the exact same lighting and angle. For the "before," capture the hair in its natural, pre-treatment state. Have the client stand, so you can see the texture and frizz pattern clearly. Don't try to make it look "bad"—just capture it honestly. When you present the "after" in the same context, the transformation will be dramatic and undeniable.
Work Your Angles
Don't settle for just one shot. Move around your client and capture your work from multiple perspectives:
- The Money Shot: The classic shot from the back, showcasing the full length and smoothness. Have the client gently rock their head from side to side to show the fluid movement.
- The Profile: A side view is perfect for showing how the treatment tames flyaways and frizz around the hairline.
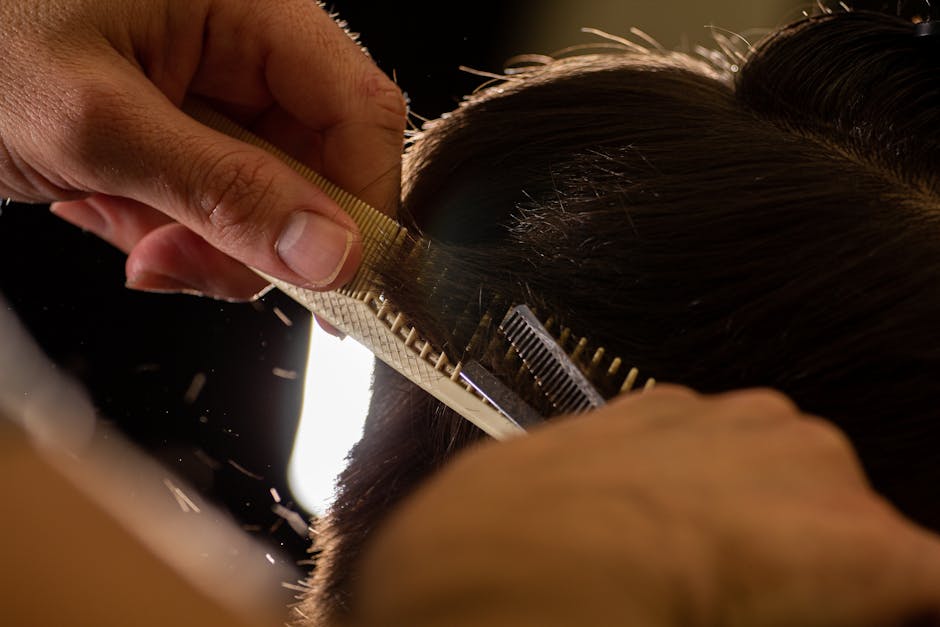
- The Detail Shot: Get close! A macro shot of the hair’s surface can highlight the sealed cuticles and incredible shine.
- The Game-Changer (Video): Nothing demonstrates the results of a keratin treatment like video. A slow-motion hair flip, a comb gliding effortlessly through the hair, or you running your fingers through the silky strands—this is the content that stops people from scrolling.
From Camera Roll to Client Magnet: Editing and Storytelling
You’ve got the perfect shot. Now it’s time for the final polish that turns it into a powerful marketing asset.
Enhance, Don't Falsify
Your editing should be minimal and focused on bringing the photo back to what you see in real life. Avoid slapping on heavy Instagram filters that alter the hair color or texture. Authenticity builds trust. I use apps like Adobe Lightroom Mobile or Snapseed to make simple adjustments:
- Brightness: Slightly increase to make the image feel bright and airy.
- Contrast: A small boost can make the shine pop.
- Sharpness: Increase this just a touch to make the details of the hair strands crisp.
Write a Caption That Converts
Your image grabs their attention; your caption sells the service. Go beyond "Keratin treatment by me." Tell a story. I like to use a simple formula:
- The Problem: Start with a relatable pain point. "Tired of spending an hour fighting frizz every morning?"
- The Solution: Briefly describe your service. "We solved it with a customized keratin smoothing treatment to seal the cuticle and lock out humidity."
- The Benefit: Explain the result in terms of your client's lifestyle. "Now she has smooth, manageable hair that will air-dry beautifully and cut her styling time in half for months to come!"
- The Call to Action: Tell them what to do next. "Ready for your own transformation? Tap the link in our bio to book your consultation."
A great photo paired with a compelling caption is your best marketing tool. To make it easy for potential clients to act on that inspiration, ensure your booking link is always front and center. Platforms like REZVA help you create a professional booking page that you can link directly in your bio, turning those impressed followers into paying clients seamlessly. You can learn more about getting started on REZVA's page for specialists.
Conclusion: Your Portfolio is Your Paycheck
Photographing your work isn't an afterthought; it's a critical part of your service and your business strategy. By dedicating just a few extra minutes to proper staging, lighting, and composition, you create powerful assets that build your brand, attract your dream clients, and fill your appointment book. You are an artist, and your work deserves to be showcased in the best possible light. Now, go create some stunning content!
Frequently Asked Questions
What if my salon has terrible lighting and no windows?
This is a common challenge! The best solution is to invest in your own lighting. A good quality, dimmable ring light (18 inches or larger) is a fantastic starting point. You can also purchase portable LED light panels. Create a dedicated "photo corner" with a clean backdrop and your light source, ensuring you have a consistent, professional setup for every client.
My client doesn't want her face in the photo. How can I still get a great shot?
Respecting client privacy is paramount. Luckily, hair can be the star of the show on its own! Focus on creative angles that don't show their face: over-the-shoulder shots, photos directly from the back, or artistic close-ups of the hair's texture and shine. A video of you combing through the hair from behind is also incredibly effective and doesn't require showing their face.
Do I really need a fancy DSLR camera?
Absolutely not. The camera in modern smartphones is more than powerful enough to take incredible photos for social media. The key isn't the gear, but the technique. Always wipe your lens clean before shooting, use your phone's "Portrait Mode" to create a beautifully blurred background, and learn to tap on the screen to focus and adjust the exposure. Mastering lighting and angles will make a bigger difference than any expensive camera.