How to Photograph Your Haircuts for Social Media
Hello, fellow artists! Sophie here. I want to talk about something that has become just as crucial to our craft as a sharp pair of shears: the perfect photograph. We can execute the most flawless, technically precise bob or create the most beautiful, cascading layers, but if the photo we post doesn't do it justice, did it even happen in the eyes of the digital world?
I learned this lesson the hard way early in my career. I was incredibly proud of my work, but my bookings weren't reflecting the skill I knew I had. My "portfolio" was a collection of poorly lit, hastily snapped photos that made my balayage look flat and my cuts look shapeless. The moment I started treating the final photograph with the same reverence as the haircut itself, everything changed. My feed became a magnet for my ideal clients, and my chair has been full ever since.
Your social media grid is your modern-day business card, portfolio, and brand billboard all in one. It’s where potential clients decide if you’re the stylist for them. So, let's move beyond the quick, awkward "after" shot and start creating images that truly sell your talent.
The Foundation: Prepping Your Canvas and Your Space
A stunning photograph begins long before you pick up your phone. Just like we prep the hair for a cut or color, we need to prep our work, our client, and our environment for the camera.
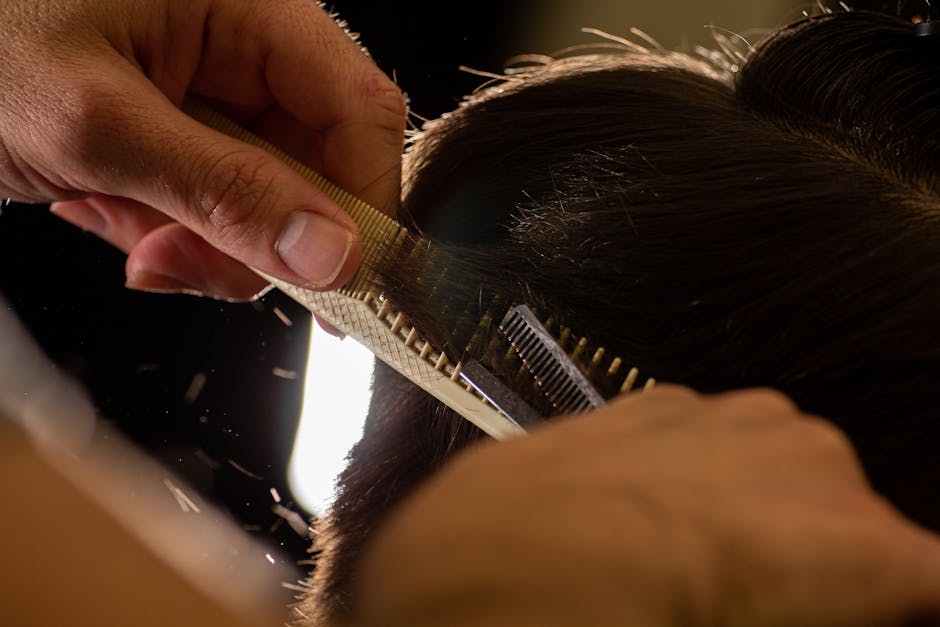
The Perfect Finish is Non-Negotiable
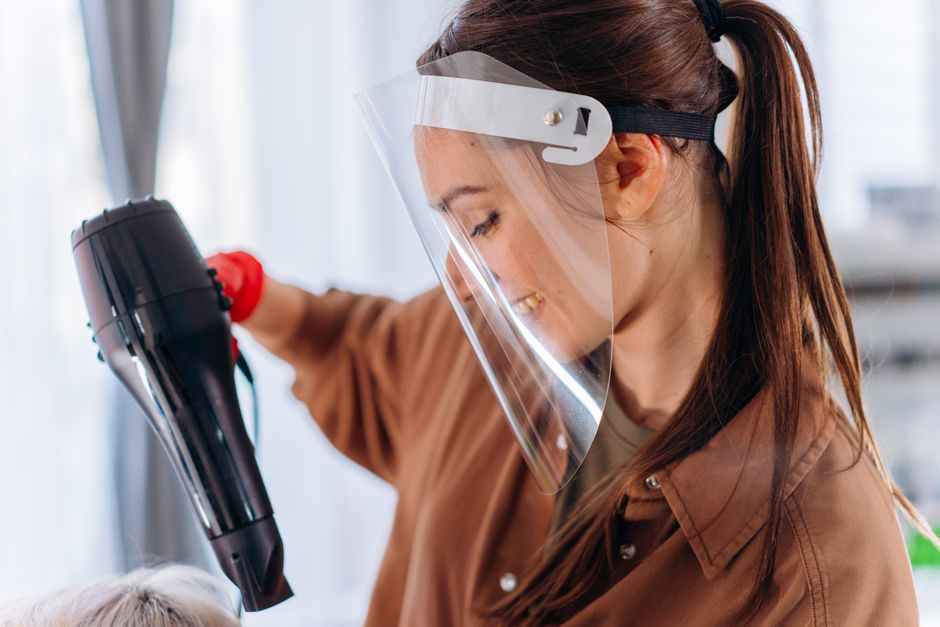
The camera sees everything. That one frizzy flyaway you might not notice in the salon mirror will look like a glaring flaw in a high-resolution photo. This is your moment to show off your finishing skills.
- Product is Your Best Friend: Don't be shy with your finishing products. A lightweight shine spray can catch the light beautifully, a texturizing spray can give life and movement to layers, and a smoothing cream can tame any lingering frizz. I always have something like Oribe's Après Beach Wave and Shine Spray on my station for that perfectly undone, photogenic look.
- The Blowout Matters: Ensure the hair is styled to perfection to accentuate the cut. If it’s a sleek bob, make it glass-like. If it’s a shag, enhance that texture. The style should tell the story of the cut.
Setting the Stage (and the Client)
Your background can either elevate or distract from your work. The goal is clean, consistent, and professional.
- Find Your Spot: Designate a specific area in your salon as your photo spot. A simple, neutral-colored wall (think light gray, off-white, or even a soft blush) works wonders. Avoid busy patterns, clutter, or reflective surfaces in the background. Natural light from a large window is ideal.
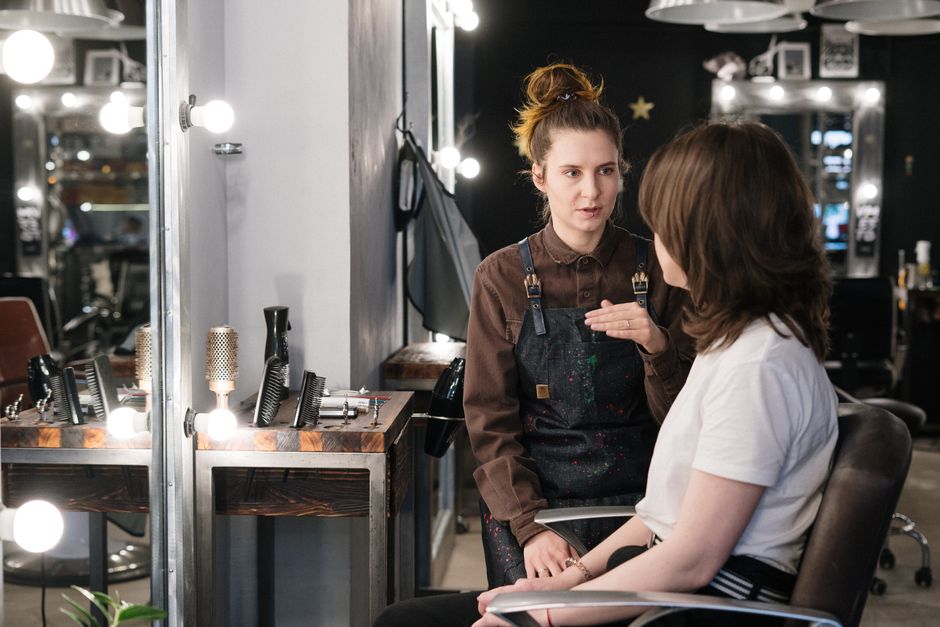
- Client Comfort is Key: Not every client is a natural model. Always ask for permission to take photos for your portfolio first. When you’re ready to shoot, give them simple, clear directions. Phrases like, "Now, can you tilt your chin down just a touch?" or "Let's have you look over your shoulder toward the window" work much better than a vague "Just act natural!" Making them feel comfortable will result in a more relaxed and authentic photo.
Mastering the Light and the Lens
This is where the technical magic happens. You don't need a high-end DSLR (though they are fantastic if you have one!), as today's smartphones have incredibly powerful cameras. It’s all about how you use them.
Lighting is Everything
I cannot stress this enough. Poor lighting will kill even the most incredible haircut. Harsh, yellow, overhead salon lights are your enemy—they create strange shadows and distort color.
- Embrace Natural Light: The best light is free! Position your client facing a large window. Soft, indirect natural light is universally flattering. It showcases dimension and true-to-tone color without harsh shadows.
- Invest in a Ring Light: For days when natural light isn't an option, a good quality ring light is a stylist's best investment. Look for one that is at least 18 inches in diameter and has adjustable brightness and temperature controls. This allows you to mimic natural daylight and eliminate shadows for that crisp, professional look.
Work Your Angles
A single photo from the back doesn't tell the whole story. You need to capture the haircut from multiple perspectives to showcase its shape, movement, and detail.
- The Money Shot (The Back): This is essential for showing off the overall shape, graduation, and any intricate color work. Make sure the hair is draped perfectly.
- The Profile & Three-Quarter View: These angles are perfect for highlighting face-framing layers, bangs, and the way the cut complements the client's features.
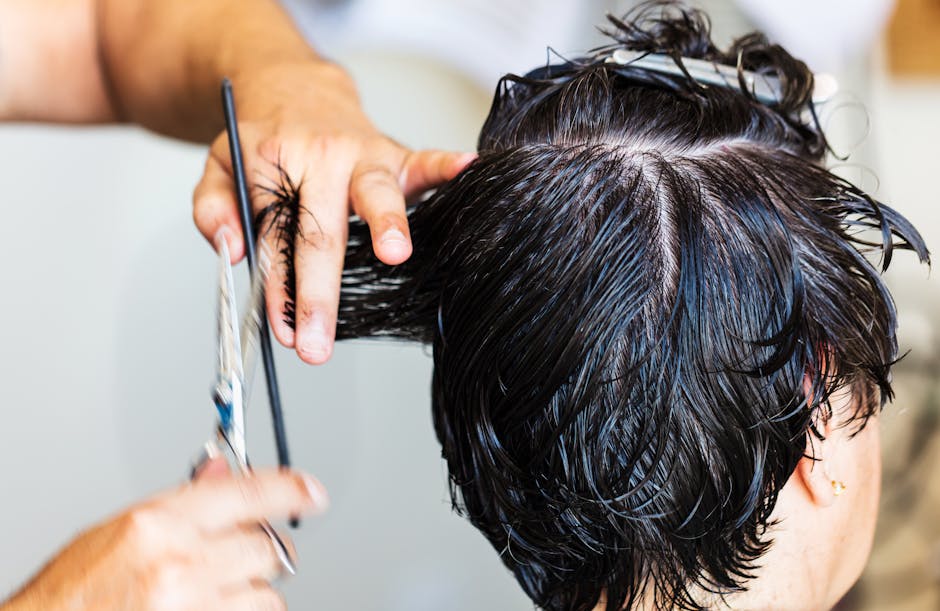
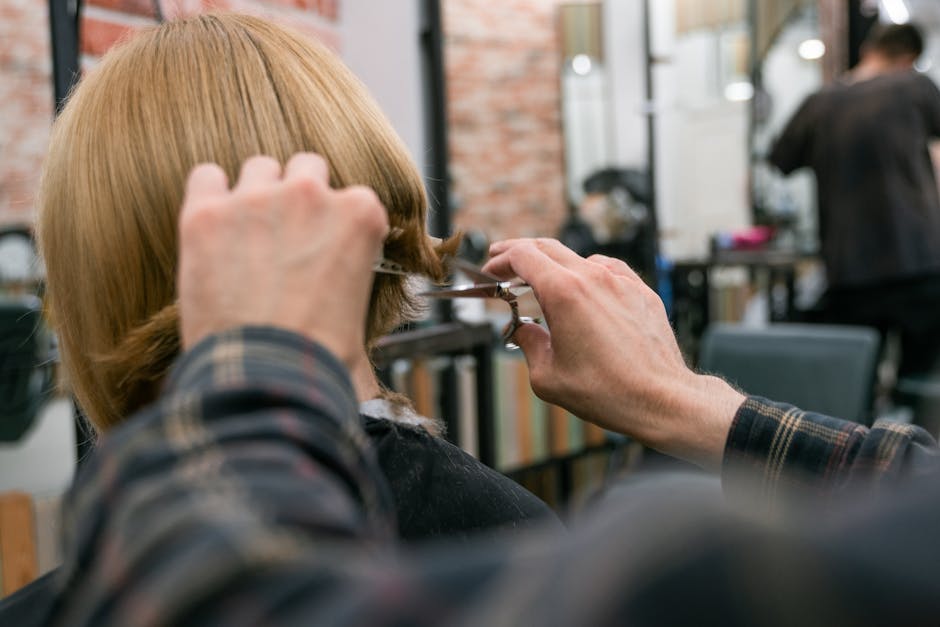
- The Detail Shot: Get in close! Capture the texture of the ends, the seamlessness of the layers, or the sharp line of a bob. This shows your attention to detail.
- Add Movement: Don't be afraid to capture the hair in motion. A gentle hair toss or running fingers through the hair can create a dynamic, editorial feel that stops the scroll. Video snippets and Reels are fantastic for this.
The Final Polish: Editing and Curation
Your job isn't done once the photo is taken. A light, professional edit can elevate your image from good to great, while a curated feed builds a powerful brand identity.
Edit with Integrity
The goal of editing is to enhance reality, not to create a fantasy. We want to present an authentic, yet polished, version of our work. Heavy filters that alter the hair color or blur the lines of the cut are a disservice to you and misleading to potential clients.
- My Go-To Apps: I do most of my editing right on my phone. Apps like Adobe Lightroom Mobile and Snapseed are fantastic for professional-level adjustments.
- Key Adjustments: Focus on tweaking the basics. Slightly increase the brightness to make the photo pop, adjust the contrast to define the layers, and correct the white balance to ensure the hair color is true-to-life. Use the healing or clone tool to remove distracting stray hairs on the client's face or cape, but never use it to alter the haircut itself.
Curate Your Digital Portfolio
Think of your Instagram or Facebook feed as the gallery wall of your salon. Each photo should contribute to a cohesive, professional, and aspirational brand story. A polished grid acts as your digital business card, driving potential clients to your booking page. Platforms like REZVA make it easy to link your stunning portfolio directly to your services and calendar, creating a seamless path from inspiration to appointment. It’s about turning those double-taps into actual clients, and a strong visual presence is the first step.
Your Work Deserves to Be Seen
Taking the time to capture high-quality photos of your work isn't vanity; it's a critical business strategy. It's proof of your skill, a testament to your artistry, and the most powerful marketing tool you have. When you showcase your haircuts with the same care and precision you use to create them, you attract clients who value your expertise and are willing to invest in it.
So, grab your phone, find your light, and start capturing the incredible work you do every single day. You’ve got this.
Frequently Asked Questions
What if my client is camera-shy or doesn't want their face shown?
This is extremely common, and we must always respect our clients' privacy. There are many creative ways to photograph your work without showing their face. Focus on shots from the back, a close-up of the hair from the side while they look away, or an "over the shoulder" shot. You can also have them hold their phone up to their face as if taking a selfie, which feels modern and hides their identity. These shots can be just as effective at showcasing the haircut.
What is the best, most affordable lighting setup for a small salon space?
If you can only invest in one piece of equipment, make it a large (18-inch or bigger) dimmable LED ring light with adjustable color temperature. This single tool is incredibly versatile. It provides even, flattering light, eliminates shadows, and the adjustable temperature allows you to match the natural light in your space for consistency. It's a game-changer for under $200.
Should I post before-and-after photos of haircuts?
Absolutely! Transformation content is one of the most powerful tools on social media. However, do it thoughtfully. Ensure the lighting and angle are as consistent as possible between the "before" and "after" to show a true, honest transformation. Always present the "before" photo respectfully—the goal is to highlight the positive change you created, not to shame the client's previous look.
Take hair bookings online, free.
REZVA helps specialists manage bookings, cut no-shows, and grow their business. Free to start, no booking fees.