How to Manage Bridal Bookings and Client Expectations
There’s a unique kind of magic in the air on a wedding morning. It’s a mix of excitement, nerves, and pure joy. As bridal artists, we’re invited into one of the most intimate and important days of a person’s life. It’s an incredible privilege, but let’s be honest—it also comes with immense pressure. After 12 years in the industry, working with everyone from celebrities on editorial shoots to brides in both intimate and grand settings, I’ve learned that flawless makeup application is only half the battle. The other half? A rock-solid system for managing bookings and client expectations.
A disorganized bridal business doesn't just cause you stress; it can erode a client's confidence. When stakes are this high, professionalism in your process is just as important as the skill in your brush strokes. Today, I want to walk you through the systems I’ve refined over the years to ensure every bridal experience is seamless, professional, and profitable.
The Foundation: Your Bridal Booking Process
The moment a potential bride reaches out, the clock starts. Your initial interactions set the tone for the entire relationship. A clunky, slow, or unprofessional process can send a top-tier client looking elsewhere, no matter how beautiful your portfolio is.

Step 1: The Inquiry & Consultation
Your first reply should be prompt, professional, and comprehensive. I stopped replying with a simple "Yes, I'm available, here's my price list" years ago. Instead, I use a templated response that thanks them for their interest, confirms my availability (or informs them if I'm booked), and directs them to a dedicated bridal inquiry form on my website. This form is my first line of defense against back-and-forth emails. It gathers all the essential information I need upfront:
- Full Name & Contact Information
- Wedding Date & Venue/Getting-Ready Location
- Ceremony Start Time
- Number of People Requiring Services (Bride, Bridesmaids, Mothers, etc.)
- Link to their Pinterest board or inspiration photos
This initial data capture allows me to provide an accurate quote and immediately demonstrates a high level of organization.
Step 2: The Contract is Non-Negotiable
If I could give just one piece of advice to artists new to the bridal world, it would be this: never, ever work without a signed contract. A contract isn’t about mistrust; it’s about clarity. It protects you, it protects the client, and it manages expectations by putting everything in writing. My contract is a living document I've updated over the years, but it always includes:
- Scope of Services: Exactly who is getting what (e.g., "1 Bridal HD Makeup Application, 4 Bridesmaid Makeup Applications").
- Rates & Payment Schedule: The total cost, the non-refundable retainer amount required to secure the date, and the final balance due date (mine is typically 14 days before the event).
- Detailed Timeline: A provisional timeline for the wedding day.
- Travel & Accommodation Fees: My policy for locations outside my standard service area.
- Cancellation Policy: Clear terms for what happens if the client or artist has to cancel.
- Overtime Clause: My hourly rate for delays caused by the party that push us past the scheduled end time.
This document establishes you as a serious business owner from day one.
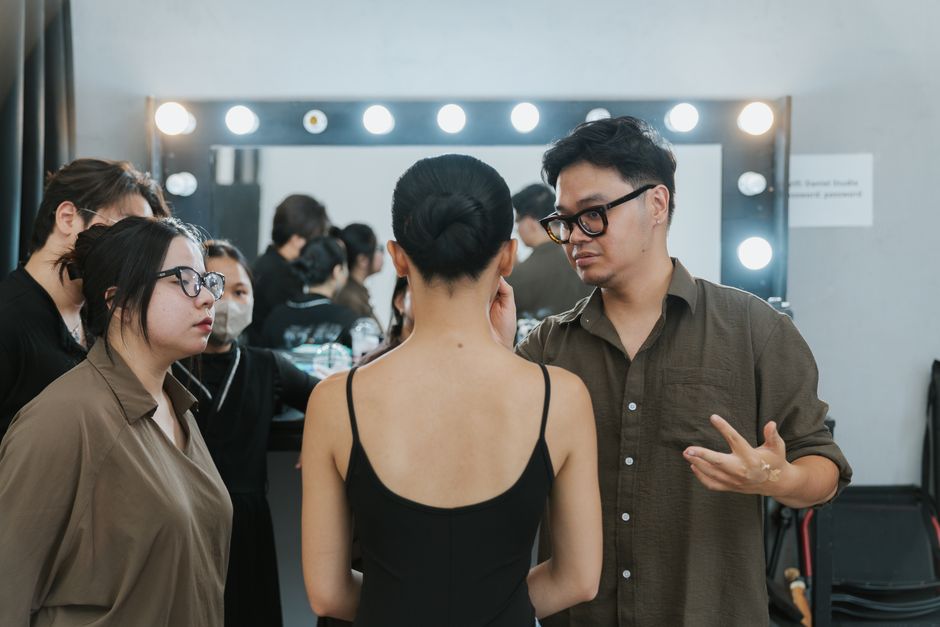
Setting Crystal-Clear Expectations: The Art of the Bridal Trial
I never call it a "makeup test" or "practice run." I call it a Bridal Preview or Design Session. This reframing is crucial. It positions the trial as a collaborative, creative session where we design the final look, not just try something out. This is where you truly manage and align with your client's vision.
Preparing for the Preview
Before the client even sits in my chair, I send them a prep guide. It advises them to arrive with a clean, moisturized face, wear a top in a color similar to their wedding dress (white, ivory, champagne), and bring their curated inspiration photos. My pro tip: I ask them to bring 2-3 photos from my own portfolio that they love. This confirms they are hiring me for my specific style and artistry, not trying to make me replicate another artist's work.
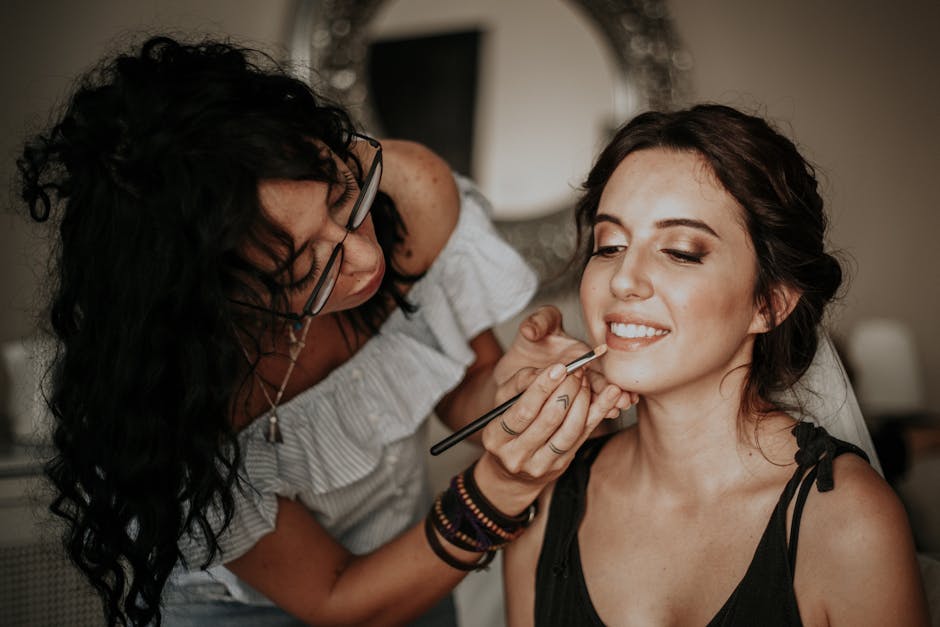
During the Session
This is your time to listen and consult. I start by discussing their skin type, their daily makeup routine, and their comfort level. Is she a full-glam enthusiast or a "tinted moisturizer and go" kind of person? This information is gold.
As I work, I explain my choices. "I'm using a hydrating primer like the Embryolisse Lait-Crème Concentré because you mentioned having dry patches," or "We're going with a waterproof gel liner set with powder to ensure it lasts through happy tears." I take meticulous notes on a face chart or in my digital client file, listing every single product used, from the exact shade of NARS Radiant Creamy Concealer to the individual lash style. I also take high-quality photos in both natural and artificial light to show them how the makeup will photograph. This is the moment to finalize the look, the timeline, and any lingering details.
The Wedding Day Game Plan: Logistics & Communication
The weeks leading up to the wedding are all about reinforcing the plan. Chaos on the wedding morning is the enemy of good makeup. Your job is to be a calming, organized force.
About two weeks out, I send a final confirmation email. This email includes:
- The Final Invoice: A reminder for the final payment.
- The Master Timeline: A detailed, minute-by-minute schedule. For example:
- 7:00 AM: Priya arrives for setup.
- 7:30 AM: Bridesmaid 1 (Jane).
- 8:30 AM: Mother of the Bride (Susan).
- 9:30 AM: Bride (Emily).
- 11:00 AM: Final touch-ups for everyone.
- 11:30 AM: Priya departs.
- Day-Of Reminders: Instructions for the bridal party to arrive with clean faces and a list of any final details needed (e.g., exact room number, parking instructions).
This level of detail eliminates questions and ensures everyone knows where they need to be and when, allowing you to focus completely on your artistry.
Leveraging Technology to Streamline Your Bridal Business
Let's be real: the administrative side of bridal work can be overwhelming. Juggling inquiries, sending contracts, tracking payments, and scheduling trials across emails, texts, and DMs is a recipe for burnout and costly mistakes. Early in my career, I spent more time on admin than artistry, and it was draining.
This is where a dedicated business management platform becomes an absolute game-changer. Using a system to centralize my entire workflow has been instrumental in scaling my business. It’s about working smarter, not harder. Platforms like REZVA are designed specifically for professionals like us, helping to automate the tedious parts of the job. I can manage my calendar, send professional contracts and invoices, process payments securely, and handle all client communication in one organized place.
By automating these administrative tasks, I free up valuable time to focus on what I love—connecting with my clients and creating beautiful makeup. For any professional looking to elevate their operations and present a polished brand from first contact to final payment, I highly recommend exploring the tools available on REZVA's page for specialists.
Conclusion: Your Process is Your Brand
Being a successful bridal artist is about building a brand founded on trust, reliability, and exceptional skill. Your clients aren't just buying makeup for a day; they are investing in peace of mind. A seamless booking process, a thorough and collaborative trial, and crystal-clear communication are the pillars that support your artistry. By mastering this side of the business, you not only create happier brides but also build a powerful reputation that attracts dream clients and fuels your growth for years to come.
Frequently Asked Questions
How do I handle a bride who changes her mind about her look after the trial?
It happens! The first step is to communicate openly and without judgment. Reassure her that it's completely normal to have second thoughts and that the purpose of the trial was to learn what she does (and doesn't) like. I offer to schedule a second trial session at my standard trial rate. I use my detailed notes from the first session as a starting point for discussion to pinpoint exactly what she wants to change, which makes the second session much more efficient.
What's the best way to set my bridal pricing and package structure?
Your pricing should reflect your skill, experience, and the cost of doing business. Start by calculating all your expenses: kit costs (per-face), insurance, travel, marketing, and the value of your time (including admin). Research what other artists with a similar skill level and experience are charging in your specific market. I recommend creating tiered packages (e.g., Bride Only, Bride + 3, Bride + 5) as it simplifies the booking process. Always be explicit about what's included (lashes, a small touch-up kit) and what services are add-ons (airbrushing, tattoo cover, travel beyond a certain radius).
How do I manage last-minute requests for additional services on the wedding day?
This is where your pre-planned timeline is your best friend. If someone makes a last-minute request and you genuinely have a gap in your schedule without compromising the bride's time, it can be a great way to earn extra income. I keep my à la carte price list and a mobile payment reader (like a Square) in my kit for this reason. However, if the request would cause a delay or rush the schedule, you must politely but firmly decline. I say something like, "I would love to help, but my timeline is structured to ensure [the Bride's Name] is ready on time and feels completely relaxed. I can't risk compromising that for her." This reinforces your commitment to your primary client and maintains your professionalism.
Take makeup bookings online, free.
REZVA helps specialists manage bookings, cut no-shows, and grow their business. Free to start, no booking fees.