Lash Photography 101: Shooting Classic Sets for Social
We’ve all been there. You finish a flawless set of classic lash extensions—perfectly isolated, beautifully mapped, enhancing the client’s natural features in that subtle, elegant way only classics can. You’re proud of your work. Then, you pull out your phone to snap a picture, and the result is… underwhelming. The photo just doesn’t do your artistry justice. The lashes look sparse, the angle is weird, and the magic is lost.
In today’s visually driven market, your social media portfolio is your most powerful client-attraction tool. For lash artists, a picture isn’t just worth a thousand words; it’s worth hundreds of dollars in bookings. While dramatic mega-volume sets are relatively easy to capture, the delicate, nuanced beauty of a classic set requires a more refined approach. Getting this right is what separates the amateurs from the in-demand experts.
I’ve spent years honing not just my lashing skills, but my photography skills, because I know they are intrinsically linked to business growth. Here is my comprehensive guide to help you capture your classic lash work in a way that stops the scroll and fills your appointment book.
The Foundation: Pre-Shoot Prep and Staging
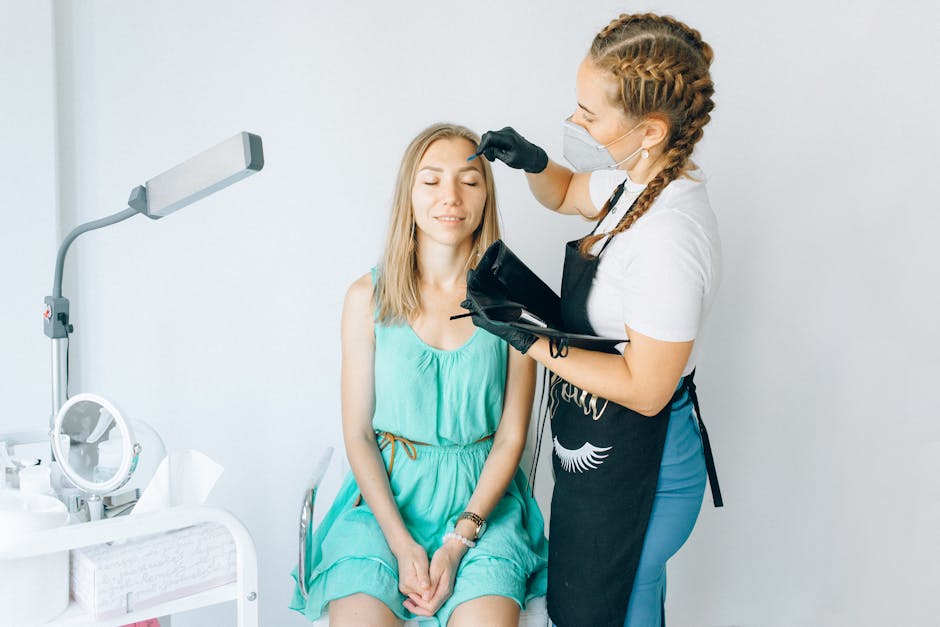
A stunning photo begins long before you pick up your camera. The final 10 minutes of your client's appointment should be dedicated to prepping for the perfect shot. Think of it as staging your masterpiece.
- The Canvas Must Be Clean: Ensure your client’s eye area is pristine. Any residual makeup, skin flakes, or smudges will be magnified on camera. After the service, I gently cleanse the lid area with a lint-free applicator and a bit of micellar water, being careful not to disturb the new set.
- Groom for Perfection: Once the lashes are applied, take a clean spoolie and brush them meticulously into place. Check for any crisscrossed lashes or gaps. A perfectly groomed set looks infinitely more professional.
- Calm and Cure: Redness is the enemy of a great lash photo. Use a nanomister for 20-30 seconds over each eye. This not only helps cure the adhesive but also soothes the client’s eyes, significantly reducing any irritation or redness from having their eyes taped and closed for an hour.
- Control Your Background: A cluttered or distracting background will cheapen your work. Always use a clean, neutral backdrop. This can be a fresh paper sheet on your lash pillow, a simple black or white head covering, or even a soft, solid-colored blanket. The focus should be on the lashes, and nothing else.
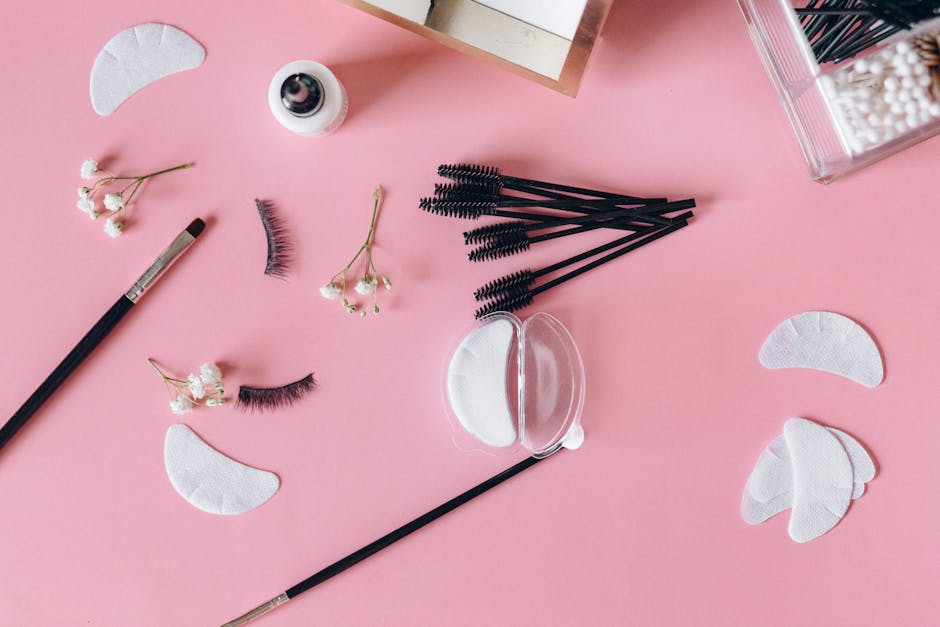
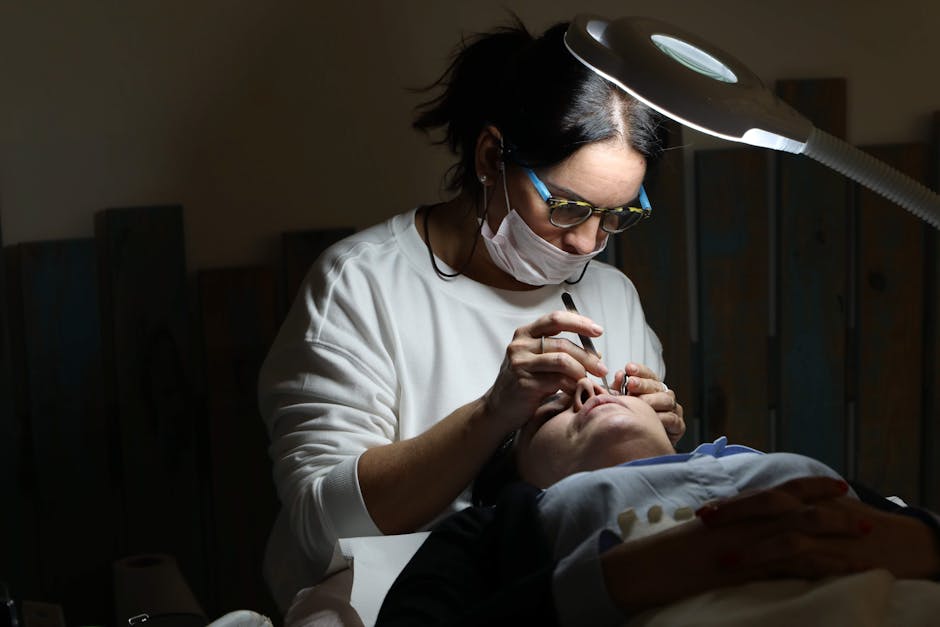
Your Essential Toolkit: Lighting and Gear
You don’t need to invest in a multi-thousand-dollar DSLR camera setup to get professional-quality photos. Honestly, the smartphone in your pocket is an incredibly powerful tool if you pair it with the right accessories.
Must-Have Gear:
- A Modern Smartphone: Any recent model from major brands (like the iPhone Pro, Samsung Galaxy, or Google Pixel) has a camera that is more than capable of capturing stunning detail. Learn to use its "Portrait Mode" for a soft, blurred background, but switch to the standard camera for crisp macro shots.
- A Ring Light: This is non-negotiable. A ring light provides bright, even, and direct lighting that eliminates shadows under the brow bone and makes the eyes sparkle. I recommend a dimmable LED ring light so you can adjust the intensity. The goal is bright and clear, not blown-out and clinical.
- A Clip-On Macro Lens: This is the secret weapon for photographing classic lashes. A macro lens allows your phone to focus incredibly close, capturing the intricate detail of each individual extension, the clean base, and the perfect isolation. This is how you show potential clients the quality of your work, not just the result.
Pro Tip: When setting up your lighting, position the ring light directly in front of your client’s face. Have them open their eyes and look directly into the light—this creates that beautiful, circular catchlight in their pupils and illuminates the entire lash line evenly.
Finding the "Money Shot": Angles and Composition
How you frame your shot is just as important as the lighting. Classic lashes are all about the subtle lift and curl, and different angles will highlight different aspects of your work. Master these key shots to build a diverse and compelling portfolio.
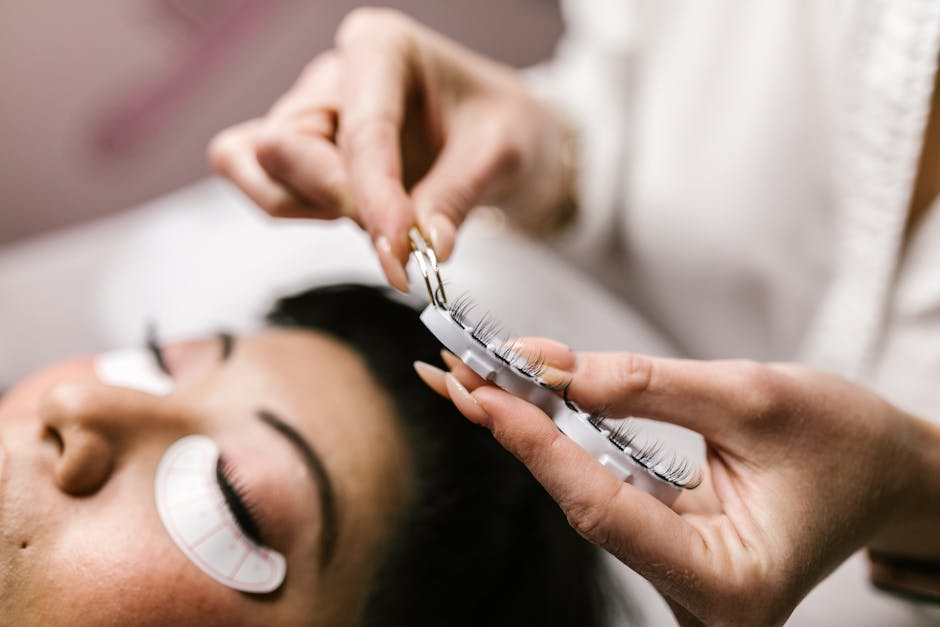
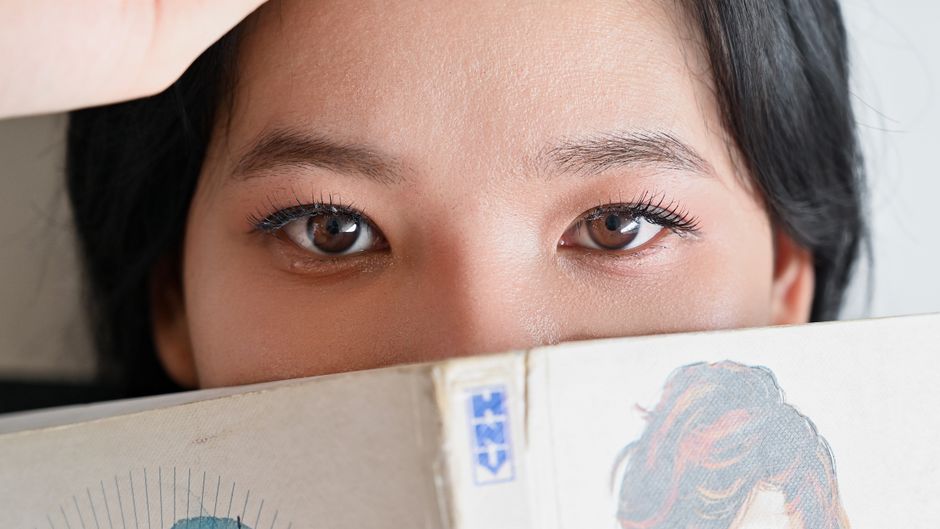
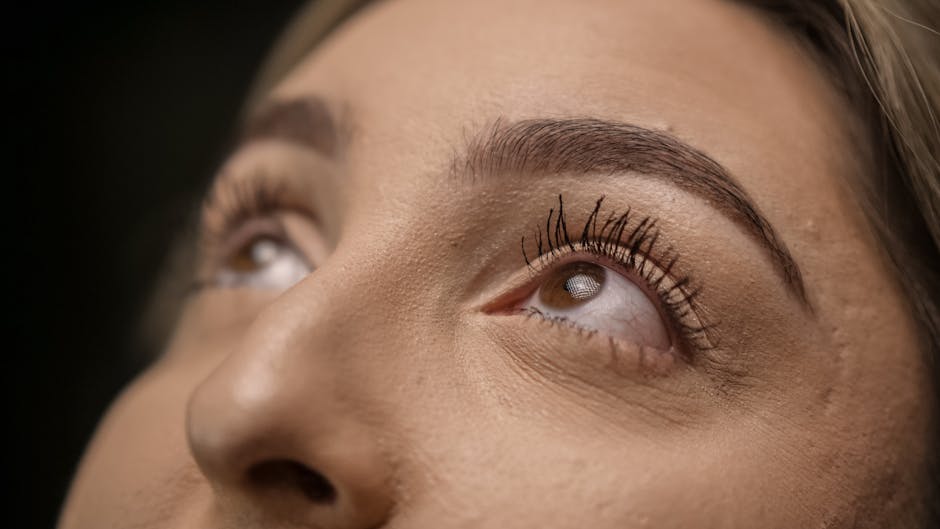
- The Top-Down Detail Shot (Eyes Closed): This is where your macro lens shines. With the client lying down and eyes gently closed, shoot from directly above the eye. This angle showcases the perfect curl of the lashes against the eyelid, the consistent direction, and the clean application at the base. Tap your screen to focus precisely on the lash line.
- The 45-Degree Profile: Have your client turn their head slightly to the side, with their eyes open or closed. This angle beautifully displays the length and sweep of the lashes from a side profile, demonstrating how they lift and open up the eye.
- The "Awake and Alive" Shot (Eyes Open): This shot sells the transformation. Have the client look up towards the ring light. This angle shows the full, finished effect and how the lashes make the eyes appear bigger and brighter. Coach your client to have a soft, relaxed expression—a gentle smile is much better than a wide-eyed, startled look.
- The Power of Before & After: This is your ultimate marketing tool. Take a "before" photo at the very beginning of the appointment, in the exact same position and lighting you plan to use for the "after" shot. The consistency between the two photos is what creates a dramatic and believable comparison.
The Final Polish: Simple Editing for a Professional Finish
Editing should be used to enhance reality, not create a false one. The goal is to make your photo look as clean and crisp as the work you performed. I use mobile apps like Adobe Lightroom or Snapseed for quick, professional adjustments right on my phone.
Your Editing Checklist:
- Brightness & Contrast: Slightly increase the brightness to make the image feel fresh and clean. Add a touch of contrast to make the dark lashes pop against the skin.
- Sharpening: This is the most crucial step for classic lashes. Increase the sharpness or clarity just enough to define each individual lash. Be careful not to overdo it, which can make the image look grainy.
- Color Correction: Neutralize any yellow or blue tones from your room's ambient lighting. Use the "white balance" tool to make the whites of the eyes and the skin tones look natural.
- Minor Retouching: It’s okay to do a little clean-up. Use a spot-healing tool to gently remove a stray brow hair or a small blemish on the eyelid. You can also slightly whiten the sclera (the white part of the eye) to reduce any redness, but keep it looking natural. Never, ever edit the lashes themselves.
Once your portfolio is full of these stunning, professional images, it's crucial to have a seamless system for clients to book you. An all-in-one platform like REZVA not only showcases your work on a professional booking page but also manages your schedule and payments, letting you focus on your craft. You can learn more about building your brand on REZVA's page for specialists.
Conclusion: Your Photos Are Your Reputation
Photographing classic lash extensions is an art in itself. It requires patience, attention to detail, and a commitment to showcasing the true quality of your work. By mastering your prep, lighting, angles, and editing, you’re not just taking a picture; you’re creating a powerful business asset.
Invest the time to practice these techniques after every client. You'll build a portfolio that reflects your skill, attracts your ideal clientele, and solidifies your reputation as a top-tier lash artist. Now go create—and capture—something beautiful.
Frequently Asked Questions
Do I need an expensive DSLR camera, or is my phone good enough?
Your smartphone is more than capable! Modern phone cameras are incredibly advanced. Instead of spending thousands on a DSLR, invest a fraction of that cost in a quality ring light and a clip-on macro lens. These two accessories will make a far bigger impact on your lash photography than a new camera body will.
My photos often look slightly blurry. What am I doing wrong?
Blurriness is almost always caused by one of three things: poor lighting, incorrect focus, or an unsteady hand. First, make sure your ring light is bright enough. Second, always tap your phone screen directly on the lash line to tell the camera exactly where to focus. Finally, brace your hands or elbows on your lash bed or a stool to keep the phone perfectly still when you take the shot.
How do you get clients to agree to be photographed for social media?
Transparency is key. I include a clear photo and video release consent section in my digital client intake forms. This way, permission is established before the service even begins. For clients who are on the fence, offering a small incentive, like 5% off their next fill, can be a great motivator. Always be gracious and understanding if a client declines.
Take lashes & brows bookings online, free.
REZVA helps specialists manage bookings, cut no-shows, and grow their business. Free to start, no booking fees.