The Complete Professional Toolkit for Lash Tinting
Hello, colleagues! Priya here. Over my twelve years in the industry, I’ve seen countless trends come and go, but one service remains a constant, profitable staple in my beauty business: the classic lash tint. On the surface, it seems simple. But as we professionals know, the difference between a mediocre tint and a truly flawless, long-lasting one lies entirely in the details—specifically, in the quality of our tools and products.
A perfect lash tint isn’t just an add-on; it’s a high-impact, low-overhead service that can build incredible client loyalty. When you deliver a result that makes your client’s eyes pop for weeks, they remember you. Today, I want to pull back the curtain on my personal lash tinting kit and share the non-negotiables that have helped me perfect this service, ensuring client safety, stunning results, and repeat business. Let's move beyond the basics and build a toolkit that truly reflects our expertise.
The Foundation: Pre-Treatment & Client Safety Essentials
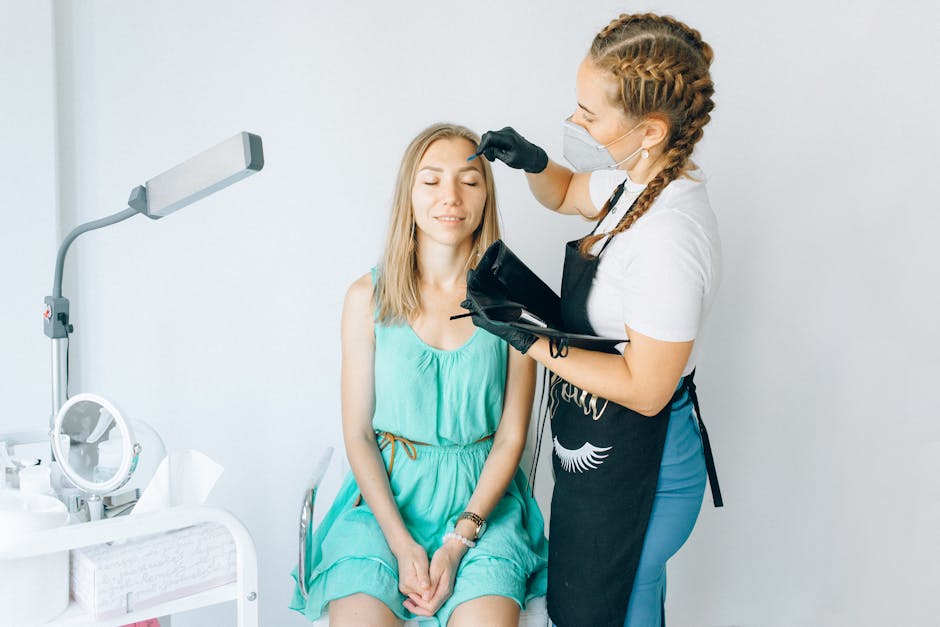
Before a single drop of tint touches a lash, our primary responsibility is client safety. This first stage isn't just procedural; it's where we build trust and demonstrate our professionalism. Rushing the prep is the fastest way to a bad result or, worse, an adverse reaction. This is what you absolutely must have on hand.
- Professional Patch Testing Supplies: This is non-negotiable. For every new client, a patch test 24-48 hours prior is your first line of defense against allergic reactions and a crucial step in protecting your business from liability. Keep detailed records of these tests in your client files.
- Gentle, Oil-Free Lash Cleanser: You need a pristine canvas. Any trace of makeup, sebum, or skincare will create a barrier and lead to a patchy, weak tint. I swear by a professional-grade lash shampoo or a simple, sterile saline solution to thoroughly cleanse the lashes without leaving any residue.
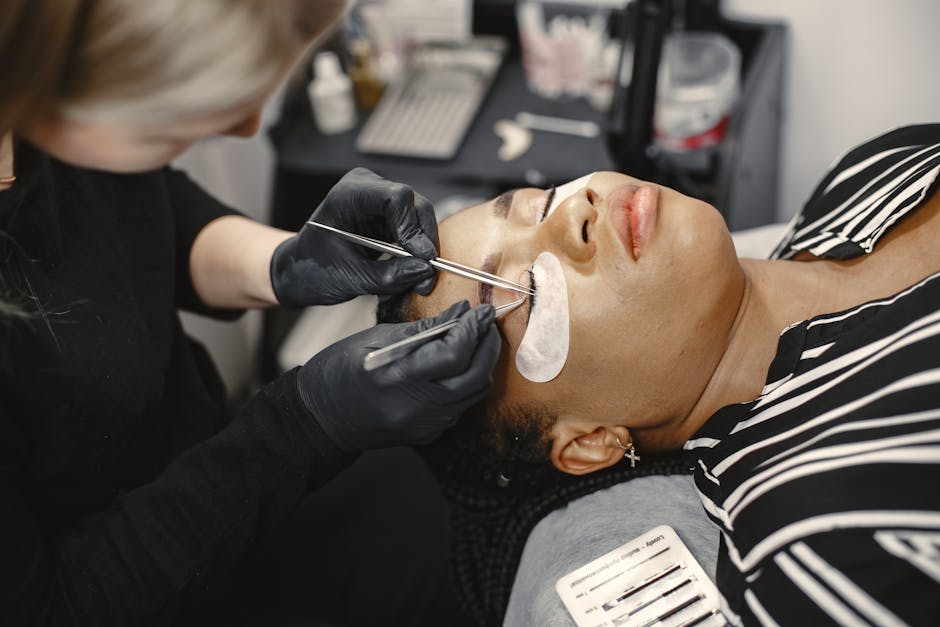
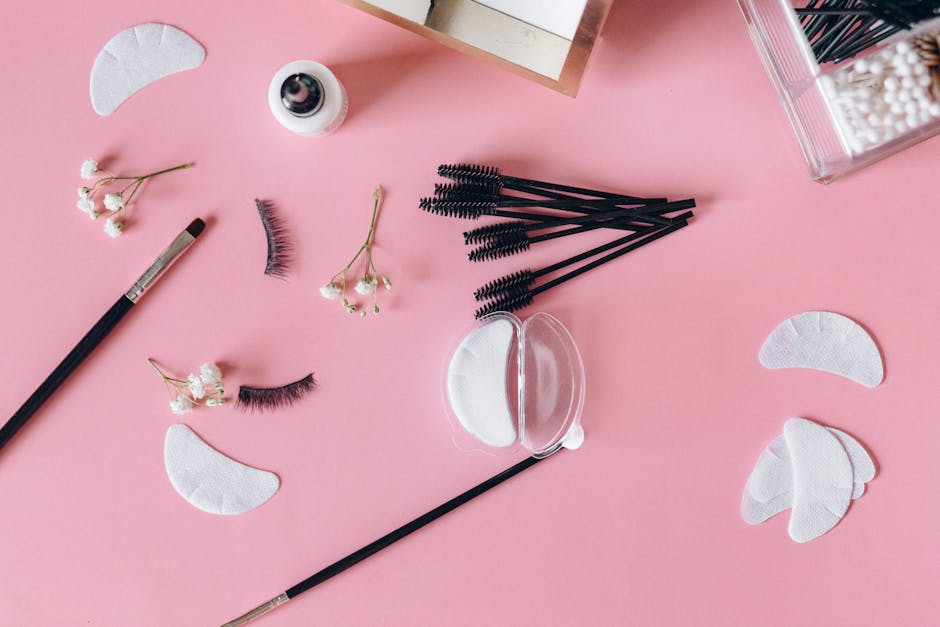
- Protective Eye Pads & Barrier Creams: Skin staining is an amateur mistake. High-quality under-eye pads are essential. While gel pads are popular, I’ve become a huge fan of reusable silicone shields. They create a perfect, crisp barrier and are more eco-friendly. Regardless of your choice, a meticulous application of a barrier cream (like a professional-grade balm or even pure petroleum jelly) along the edge of the pad and on the upper lid is your insurance policy against stains.
- Client Consultation & Consent Forms: This is as much a tool as your tinting brush. A thorough form that documents allergies, sensitivities, previous reactions, and contraindications (like conjunctivitis or recent eye surgery) is vital. It protects you, your client, and reinforces your credibility as a serious professional.
The Main Event: Choosing Your Tint & Developer
With a safe and prepped client, we can move on to the artistry. The products you choose here directly impact the depth, longevity, and overall quality of your final result. Don't skimp on your core products; your clients will see the difference.
Tints & Color Theory
Your tint selection should go beyond a single tube of black. To truly offer a bespoke service, you need a small palette to customize colors for each client.
- Cream vs. Gel Tints: Most professional lines offer both. Cream tints, in my experience, offer a slightly more forgiving application with a thicker consistency that’s less prone to running. Gel tints can develop faster and offer a very potent stain. I recommend mastering one type first before branching out. My go-to is a high-quality cream tint for its control and rich results.
- Your Core Color Palette: At a minimum, your kit should contain:
- Blue-Black: The industry standard for a reason. It provides an intense, deep, almost patent-leather black with a blue undertone that reflects light beautifully.
- Natural Brown: Essential for redheads, fair blondes, or clients wanting a very subtle, natural enhancement.
- Graphite: This is my secret weapon. Adding a tiny amount of graphite to black tint can cool down the tone, creating a softer, ash-black that is stunning on clients with cool-toned hair or mature clients with graying lashes.
Developer & Mixing Tools
The tint is only half of the equation. The developer (oxidant) activates it, and how you mix it matters.
- Cream vs. Liquid Developer: Always use the developer from the same brand as your tint for consistent results. A cream developer will create a thicker, more manageable paste, which I prefer for its non-drip consistency. A 3% (10 Volume) oxidant is the standard for lash tinting.
- Glass Dappen Dish: Never mix your tint in a metal or plastic container, as it can interfere with the chemical process. A small, sturdy glass or ceramic dappen dish is professional, easy to sanitize, and will last forever.
Application & Processing: The Tools of the Trade
Precision is everything. The tools you use to apply the tint are what separate a clean, root-to-tip application from a messy, incomplete one. Investing in quality tools will not only improve your results but also speed up your workflow.
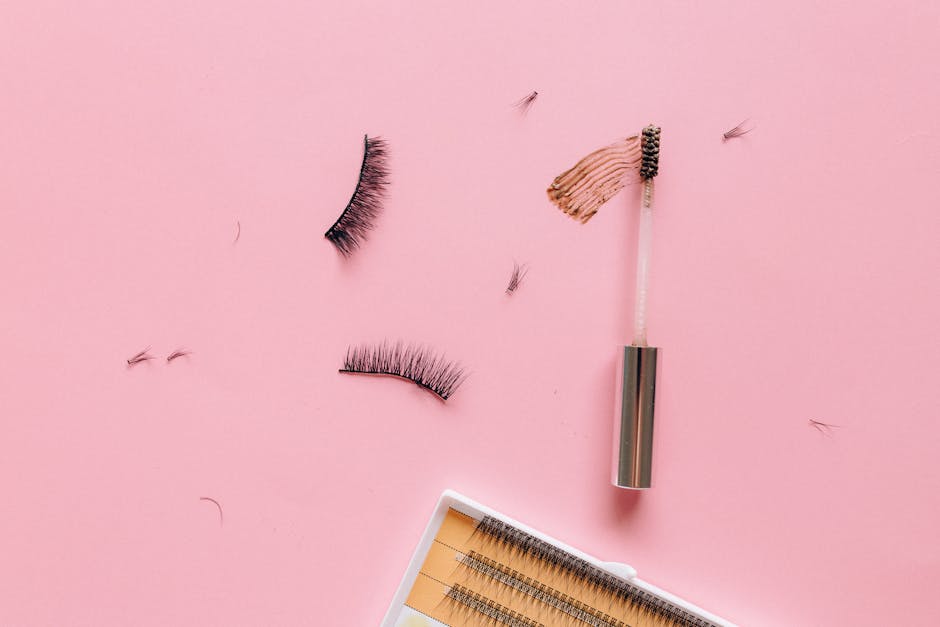
- Precision Application Brush: Ditch the plastic stick that comes in the box. A fine-tipped, slightly angled synthetic brush gives you unparalleled control. You can paint the tint onto each lash, pushing it right into the lash line without touching the waterline or skin.
- Magnifying Lamp: If you don’t have one, this is the single best investment you can make for your lash services. A good LED magnifying lamp illuminates your workspace, reduces your own eye strain, and allows you to see every single tiny lash. It’s a game-changer for safety and perfection.
- Digital Timer: Don't guess your processing times. Different brands have different recommendations, and consistency is key to predictable results. Using a dedicated digital timer for every client demonstrates precision and care.
- Separation Tools: A clean mascara spoolie or a fine-toothed lash comb is essential for brushing through the lashes after application. This ensures every lash is fully saturated and prevents them from clumping together with the tint.
The Finishing Touches: Removal & Aftercare Guidance
How you conclude the service solidifies the client's experience. A gentle, soothing finish and clear aftercare advice will have them walking out the door impressed and well-informed.
- Gentle Removal Supplies: Have damp (not soaking wet) cotton rounds and pointed cotton swabs ready. The technique is to gently wipe downwards, away from the eye, never rubbing back and forth. Use the pointed swabs for cleaning up precisely along the lash line.
- Nourishing Lash Serum: This is a beautiful, luxurious final step that elevates your service. Applying a drop of a keratin-infused or peptide-rich lash conditioner after the tint is removed not only nourishes the lashes but also feels wonderful for the client. It’s also a fantastic retail opportunity.
- Printed or Digital Aftercare Cards: Don’t just tell your clients the aftercare rules—give them something to take home. Simple instructions like avoiding water, steam, and oil-based products for 24 hours will help them protect their investment and get the most out of their tint.
Building Your Business Beyond the Brush
As you can see, a professional lash tint is a system, not just a product. Each tool and step builds upon the last to create a safe, beautiful, and profitable service. Investing in a high-quality kit signals to your clients that you are a serious, skilled practitioner and justifies your premium pricing.
Of course, managing the clients who love our services is just as important as the service itself. Keeping track of patch test results, appointment histories, and client preferences is crucial. That's where having a robust system comes in. Platforms like REZVA are built specifically for beauty professionals like us, helping to streamline bookings, manage client notes, and build our online presence. If you're looking to simplify your admin, I recommend exploring what REZVA's page for specialists has to offer so you can focus more on your craft.
By investing in the right toolkit and the right business systems, you can transform a simple lash tint into a signature service that keeps clients coming back again and again.
Your Professional Lash Tint Questions, Answered
How do I prevent the tint from staining the client's skin?
This comes down to meticulous prep. Ensure your under-eye pads or shields are placed as close to the lower lash line as possible. Then, use a fine brush to apply a barrier cream right up to the edge of the pad and along the top lash line on the eyelid. During application, use a precise brush and work slowly. If you do get a smudge, wipe it away immediately with a damp, pointed cotton swab.
My client's tint isn't lasting. What could be the cause?
There are two likely culprits: improper prep or incorrect aftercare. First, ensure you are thoroughly cleansing the lashes with an oil-free primer or saline solution to remove every trace of oil and dirt. Second, you must educate your client. The biggest tint-killer is an oil-based makeup remover or cleanser. Make sure they understand that they need to use oil-free products around their eyes to maximize the life of their tint.
Is it worth investing in multiple tint colors, or is black/blue-black enough?
Absolutely, it's worth it! Offering custom-blended color is what elevates your service from a standard procedure to a bespoke beauty treatment. Being able to mix a soft brown for a blonde, add graphite to black for a cool-toned brunette, or create a rich brown-black for a redhead shows a higher level of expertise and allows you to perfectly tailor the result. This level of customization is something clients notice and are willing to pay more for.
Take lashes & brows bookings online, free.
REZVA helps specialists manage bookings, cut no-shows, and grow their business. Free to start, no booking fees.