Lash Lift Photos That Actually Get You Booked
From Great Lashes to Great Content: Elevating Your Work Online
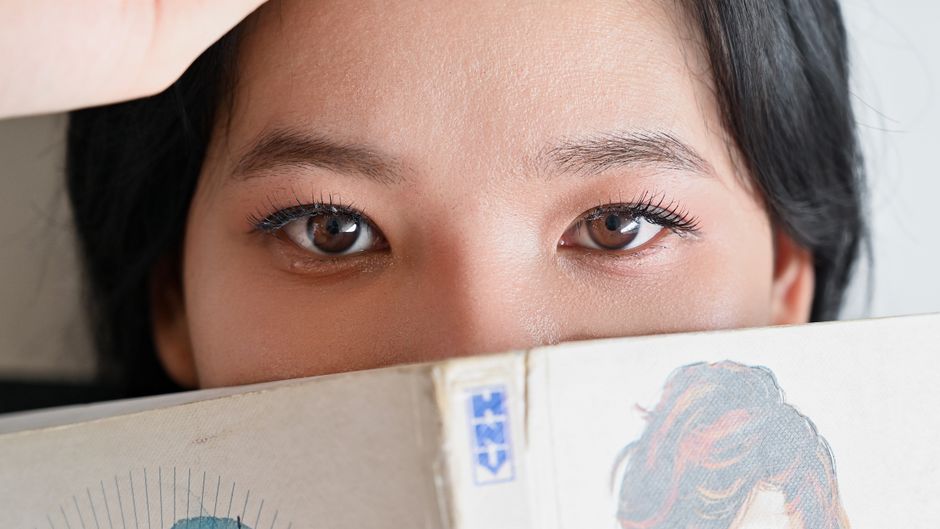
Hello, fellow professionals. Sophie here. There’s a feeling we all know: you’ve just finished a flawless keratin lash lift. The curl is perfect, the lift is dramatic, and your client is ecstatic. You grab your phone to capture the magic, but the photo just… falls flat. It doesn’t do your meticulous work justice. The lighting is off, the angle is weird, and the incredible transformation is lost.
In my years running my salon and working behind the chair as a colorist, I've learned that our technical skill is only half the battle. The other half is showcasing it. In today's digital world, your social media feed is your portfolio, your business card, and your biggest lead generator. A blurry, poorly lit photo can make a $150 service look amateur, while a sharp, compelling image can stop a potential client mid-scroll and turn them into a booking.
Let’s move beyond simple snapshots. It’s time to create professional, high-quality images that reflect the caliber of your work and attract the clients you deserve. This is your guide to mastering the art of photographing your lash lifts.
Section 1: The Foundation: Prepping for the Perfect Shot
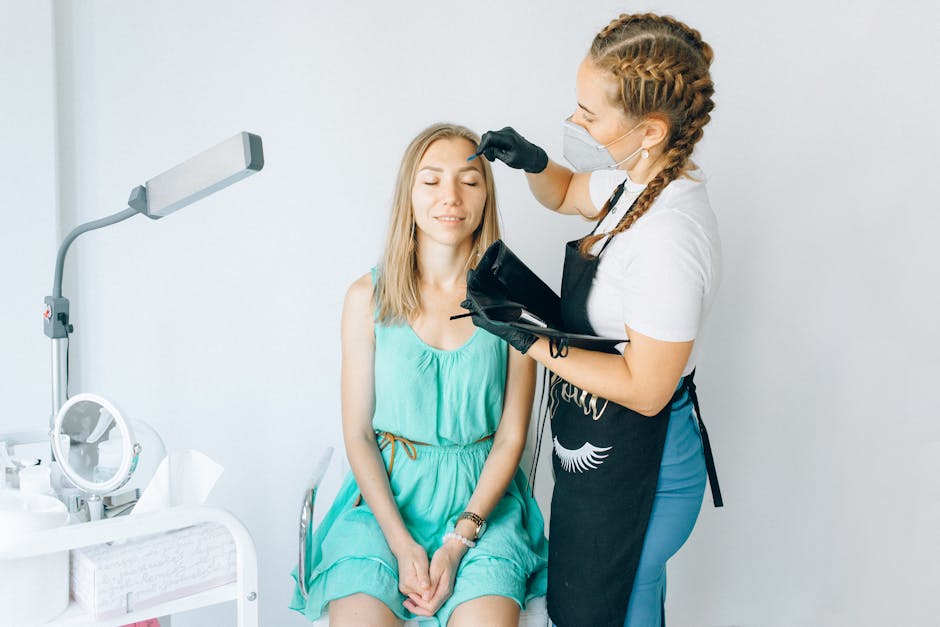
A great photo starts long before you pick up the camera. Just as we prep a client’s lashes for a service, we need to prep the entire scene for the photo. Think of yourself as a director setting the stage.
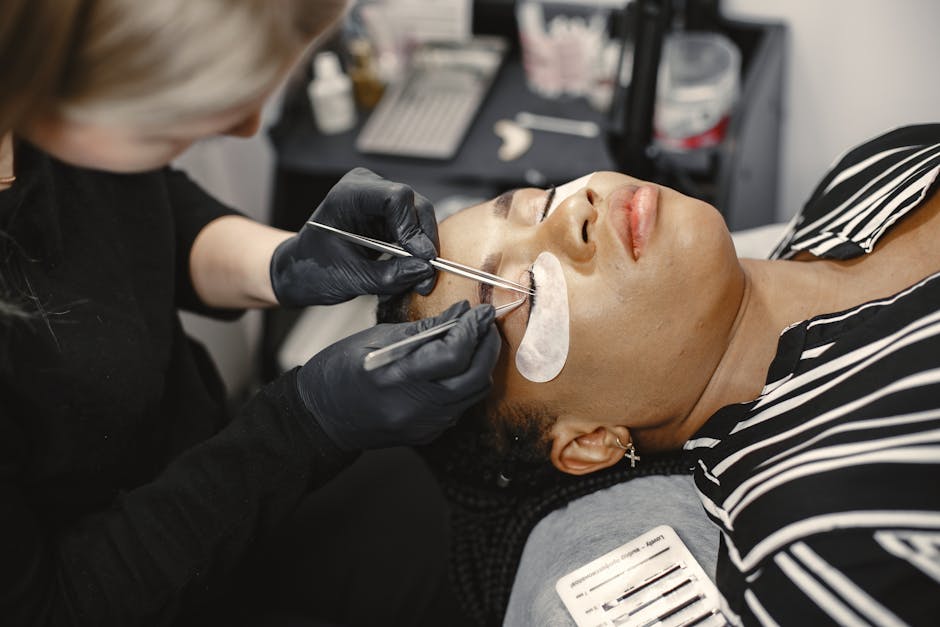
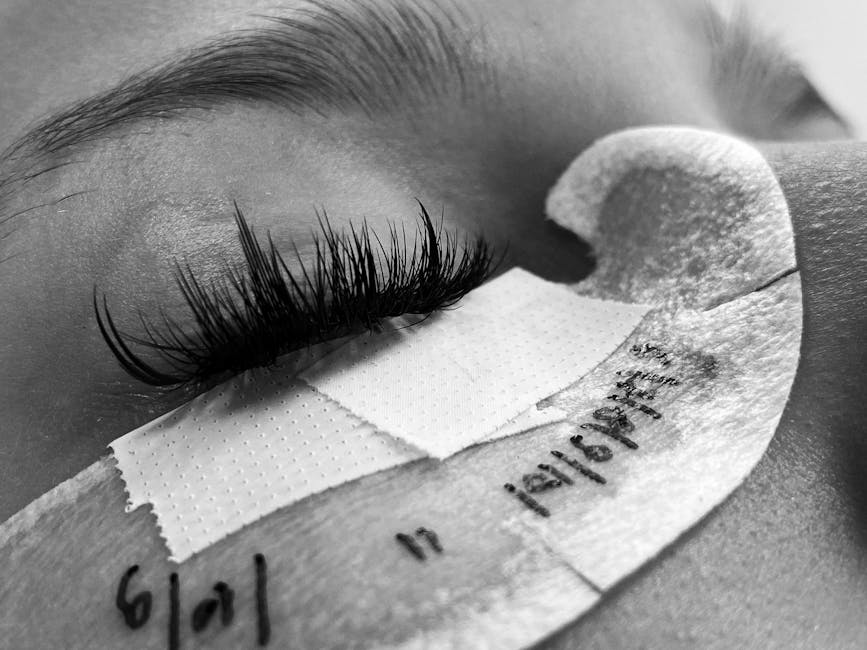
- Create a Clean Canvas: This is non-negotiable. After the service, ensure the eye area is pristine. Gently remove any leftover tint from the skin with a damp cotton tip. Brush the lashes into their perfect, fanned-out position. A clean, well-groomed brow also frames the work beautifully, so a quick brush-up can make a world of difference.
- Manage the Environment: Look at what’s behind your client. A messy trolley, a cluttered background, or harsh overhead fluorescent lighting can ruin an otherwise perfect shot. I recommend designating a specific spot in your studio with a clean, neutral background—a plain wall, a simple backdrop, or even a branded pillow can work wonders. Ensure your client’s hair is neatly pulled back from their face.
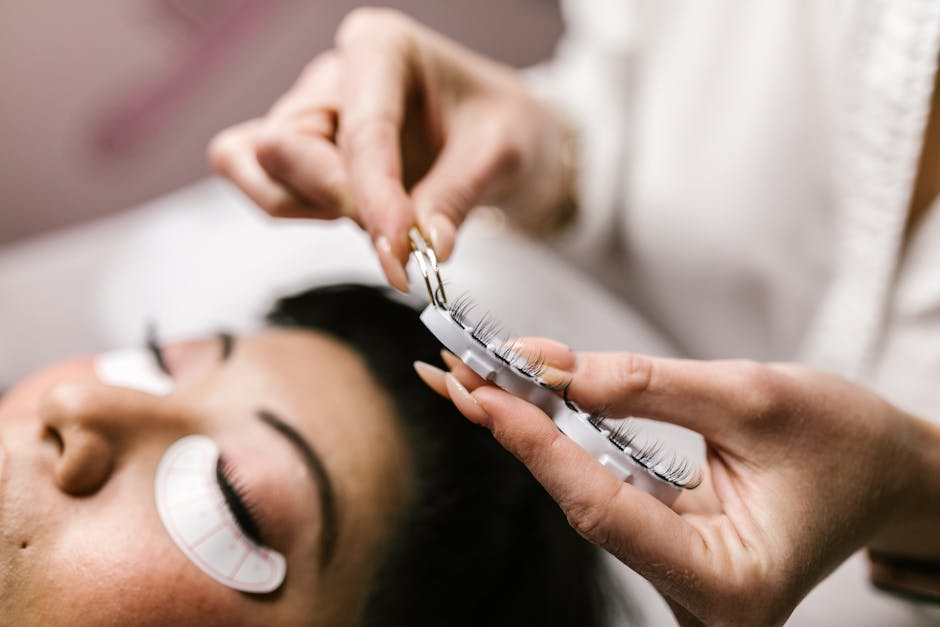
- Client Comfort and Consent: This is crucial for both ethics and getting a great shot. Always, always ask for permission before taking photos or videos for social media. Explain how you’ll use the images. A happy, relaxed client will give you a much better, more natural expression than one who feels put on the spot. I find it’s best to mention it during the consultation so they know what to expect.
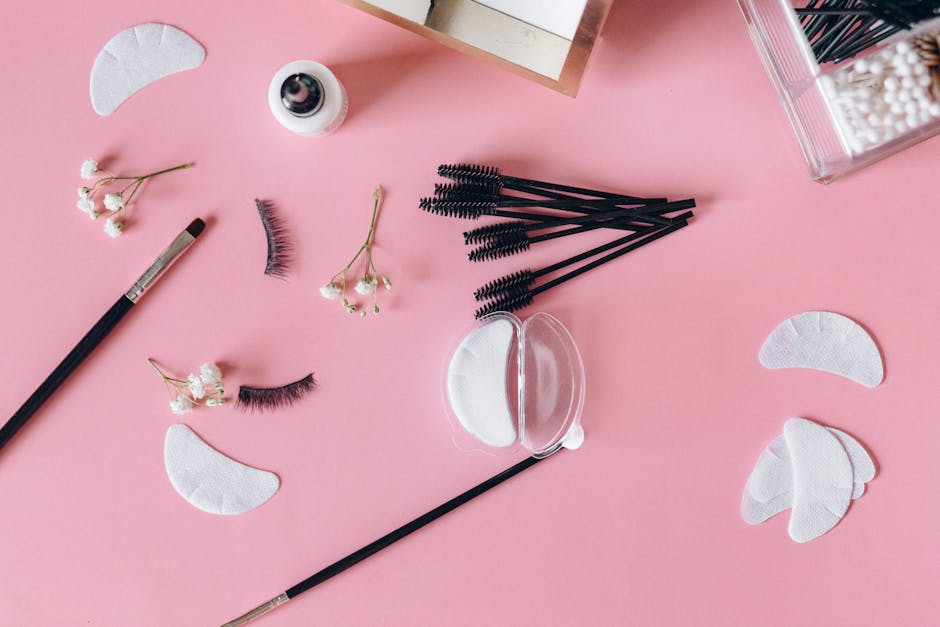
Section 2: Your Toolkit: Gear That Gets the Job Done
You do not need to invest thousands in a professional photography setup. The smartphone in your pocket is an incredibly powerful tool. The key is knowing how to augment it for professional results.
Lighting is Everything
If you take away only one thing from this article, let it be this: good lighting is more important than a good camera.
- Natural Light: The holy grail. If you have a window with soft, indirect daylight, use it. Position your client facing the window to get beautiful, even light that illuminates the eyes without harsh shadows.
- Ring Lights: An absolute must-have for any beauty professional. A good quality, dimmable LED ring light provides consistent, flattering light that eliminates shadows and creates that signature "catchlight" in the eyes, making them pop. I recommend one with adjustable color temperature so you can match it to the ambient light in your room (cool vs. warm).
Camera and Lenses
- Your Smartphone: Modern phone cameras are phenomenal. Learn to use your phone's "Portrait Mode" to create a soft, blurred background that makes the lashes the star of the show. Also, learn how to manually tap the screen to focus directly on the lashes and adjust the exposure (brightness) before you shoot.
- The Macro Lens: This is the secret weapon for getting those stunning, ultra-detailed close-ups. A simple clip-on macro lens for your smartphone costs very little but allows you to get incredibly close and capture every single lifted lash with perfect clarity. This is how you show off your impeccable isolation and technique.
Section 3: Capturing the Magic: Angles and Composition
Now that your scene is set and your gear is ready, it's time to shoot. Don't just take one photo and call it a day. Work your angles and give yourself options to choose from later.
The Essential Shots
- The 45-Degree Angle: This is your money shot. Have the client look straight ahead, and position your camera slightly to the side and above them, looking down at a 45-degree angle. This angle beautifully showcases the curl and lift from the root.
- The "Eyes Closed" Profile: Have the client close their eyes and turn their head slightly to the side. This shot is perfect for highlighting the length and uniform curl against the eyelid.
- The Before & After: This is the most powerful marketing tool you have. Take the "before" shot in the exact same lighting and angle as the "after" shot. The consistency makes the transformation undeniable. I recommend creating a simple, branded template in an app like Canva to present your before-and-afters side-by-side.
- The Video Reveal: Don’t underestimate the power of video! A short Reel or TikTok showing the client opening their eyes for the first time is authentic, engaging, and highly shareable. A slow-motion video panning across the finished lashes can also be mesmerizing.
Section 4: The Final Polish: Editing and Branding
Editing is not about changing your work; it's about enhancing the photo to accurately represent your work. The goal is to look professional and clean, not filtered or fake.
- Subtle Adjustments Only: Use an app like Adobe Lightroom Mobile (it has a great free version) or Snapseed. Focus on making small tweaks to brightness, contrast, and sharpness. If the skin tone looks a bit off, you can adjust the white balance. That’s it.
- Avoid Filters: Never use a skin-smoothing or Instagram filter that alters the texture and detail of the lashes. Clients are savvy; they can spot an over-edited photo, and it erodes trust. Your raw skill is what you’re selling, so let it shine.
- Branding is Key: Add a small, unobtrusive watermark with your salon name or social media handle to every photo. This protects your work from being stolen and ensures your brand is always attached to your content as it gets shared.
Turning Clicks into Clients
Mastering your lash photography is about more than just getting likes; it's a powerful business strategy. Every stunning photo you post is a testament to your expertise, building a portfolio that attracts new clients and reinforces the loyalty of existing ones. When those new client inquiries start rolling in from your amazing feed, you’ll want a seamless way to manage them. A streamlined system like REZVA is perfect for handling that new influx of bookings and showcasing your portfolio directly on your professional booking page. You can explore how to build your business presence on REZVA's page for specialists.
Remember, the quality of your photos should match the quality of your service. By investing a little time in setting up, shooting, and editing your photos thoughtfully, you create assets that work for your business 24/7. Now go create some beautiful content!
Frequently Asked Questions
Do I really need a fancy DSLR camera?
Absolutely not. While a DSLR is a great tool, modern smartphone cameras are more than capable of producing stunning, professional-quality images for social media. The key is to master lighting and composition. Invest in a good ring light and a clip-on macro lens before you even consider a dedicated camera.
How do I get clients to agree to be photographed?
It's all about how you ask. Be confident and professional. I often say something like, "Your lash lift looks absolutely incredible! Would you mind if I took a few photos of the results for my professional portfolio on Instagram? I would only show the eye area." Most clients are flattered and happy to help, especially when they see the beautiful result. You can also offer a small discount on their next service as a thank you for being a model.
Should I post videos or just photos?
Both! A mix of content is ideal for social media algorithms. Use high-quality photos for your main feed posts that act as your long-term portfolio. Use short-form video (like Instagram Reels or TikToks) for showing the process, the "reveal" moment, or a satisfying lash brushing shot. Video often gets higher engagement and can showcase the dynamic, real-life results of your work.
My photos always have a yellow or blue tint. How can I fix it?
This is a white balance issue. Your camera is trying to interpret the color of your light source. The easiest fix is to invest in a ring light with adjustable color temperature, which allows you to switch between warm, neutral, and cool light. In post-editing, almost every photo app has a "White Balance" or "Temperature" slider that you can adjust to make the whites in your photo look pure white, which will correct the overall color cast.
Take lashes & brows bookings online, free.
REZVA helps specialists manage bookings, cut no-shows, and grow their business. Free to start, no booking fees.