Crafting the Perfect Edge: A Barber's Essential Lineup Toolkit
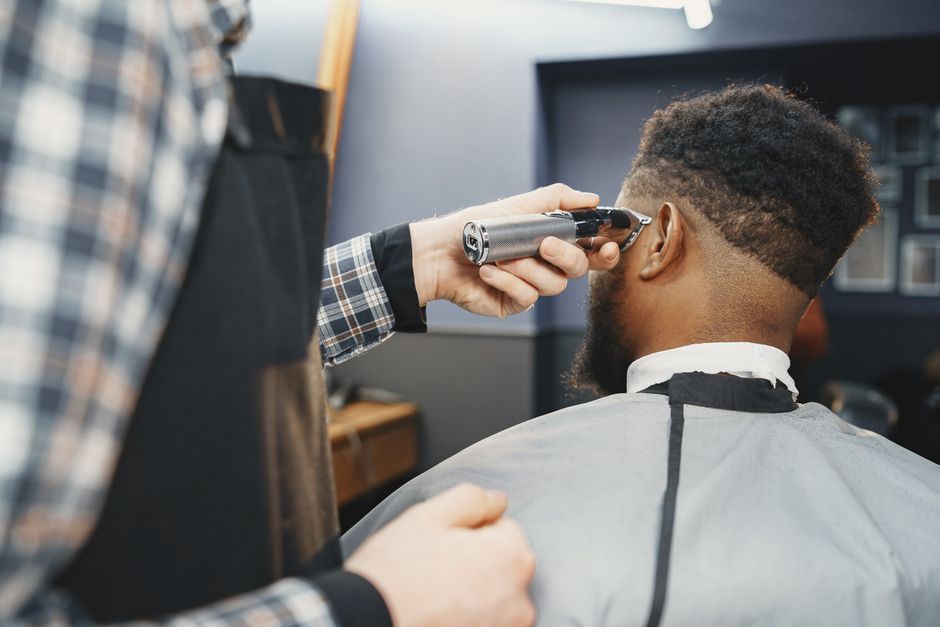
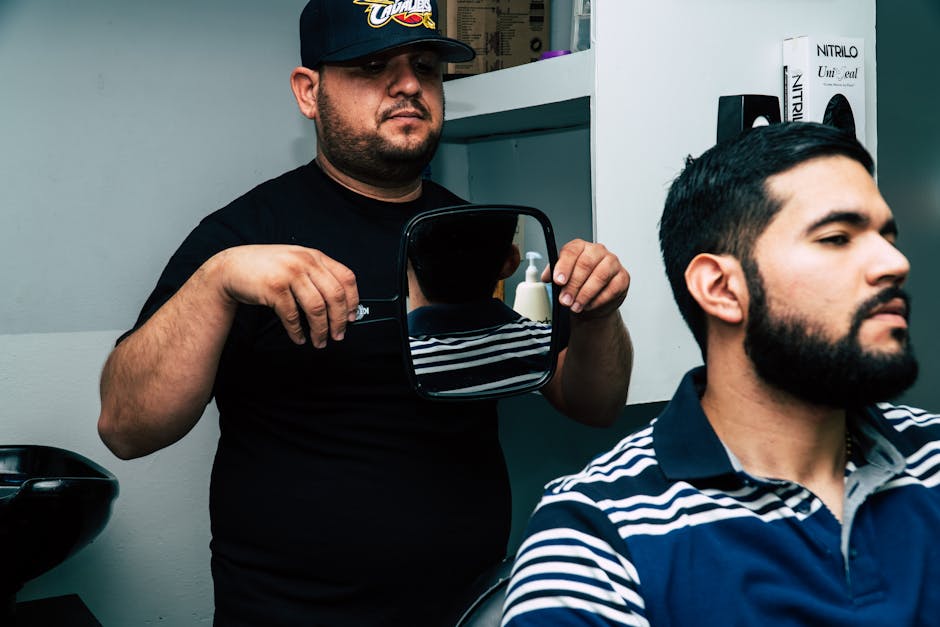
In our line of work, there are moments of truth. For me, one of the biggest is when I spin that chair around and hand the client the mirror. Their eyes don't go to the fade or the texture on top first. They go straight to the edges. The lineup—the shape-up, the edge-up, whatever you call it in your shop—is the frame for your entire masterpiece. It’s the difference between a good haircut and a great one. It’s what they’ll scrutinize every morning until they’re back in your chair.
A flawless lineup isn't magic; it’s a combination of a steady hand and an impeccable toolkit. Over my years behind the chair, I’ve refined my arsenal down to the non-negotiables. These are the tools that not only deliver razor-sharp precision but also elevate the client experience and, ultimately, protect my bottom line. Let's break down what every professional needs to craft that perfect edge.
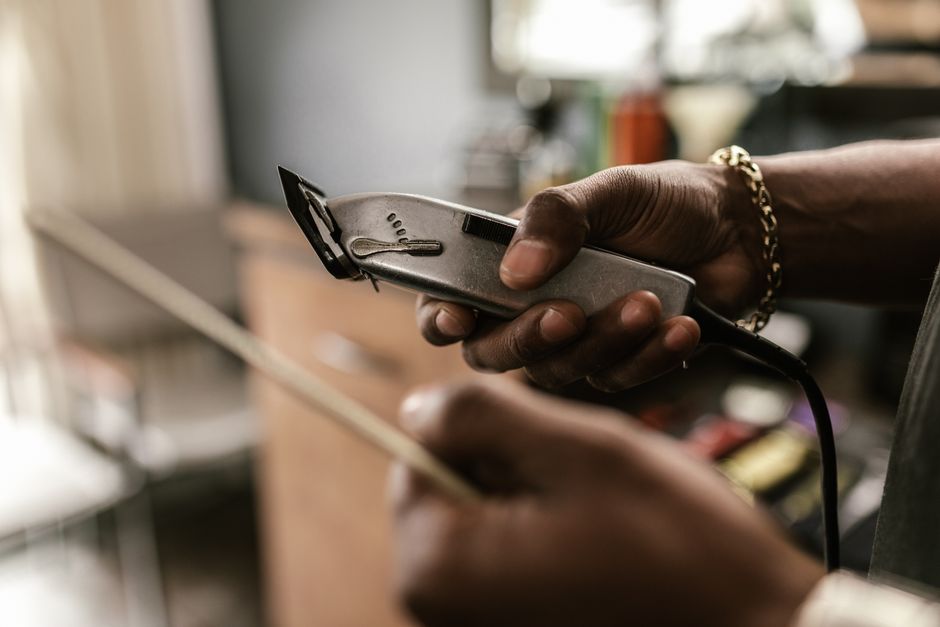
The Workhorse: Your High-Precision Trimmer
This is your primary weapon. A cheap, underpowered trimmer from a big-box store simply won't cut it—literally. Your go-to trimmer needs to be a professional-grade machine with a powerful motor that won’t bog down on coarse hair and a blade that can be zero-gapped for the closest possible cut.
I’ve always gravitated towards trimmers with a T-blade. The extended blade gives you incredible visibility and allows you to use the corners for sharp angles and detailed curve work, especially around the ears and on intricate beard lines. Models like the classic Andis T-Outliner or the more modern BaBylissPRO SkeletonFX are staples in shops everywhere for a reason: they’re reliable and built for this exact kind of precision work.
Technique Tip: Don't just rely on the blade out of the box. Learn to properly adjust and zero-gap your blades yourself. But be cautious—a blade that’s gapped too aggressively can easily bite a client. Find that sweet spot where it cuts surgically sharp without breaking the skin.
Business Insight: Own a backup. I learned this the hard way years ago when my primary trimmer died mid-cut on a busy Saturday. The few hundred dollars you spend on a second, reliable trimmer is an insurance policy. Downtime is lost revenue, and the cost of that backup is far less than the income and reputation you lose from having to cancel or reschedule clients.
The Finisher: Shavers and Razors for Ultimate Definition
A trimmer gets you 90% of the way there. The final 10%—that impossibly clean, "painted-on" look—comes from your finishing tools. This is where you separate yourself from the amateurs.
Foil Shavers
A high-quality foil shaver is essential for taking that sharp line to the next level. After you’ve set your line with the trimmer, gently using a foil shaver right against the edge removes any remaining stubble, creating a smooth, bald transition that makes the line pop. It’s the secret to that airbrushed look without any enhancements.
Pro Tip: Use a very light touch. The goal is to buff away the stubble, not press into the skin, which can cause serious irritation. I always follow up with a bit of cooling aftershave to soothe the area immediately.
Straight Razors
Nothing says "master barber" quite like a straight razor finish. It’s a classic skill that communicates expertise and offers an unparalleled level of sharpness. For this, single-use, disposable blades are the only professional and sanitary option. The experience of a hot lather and a straight razor finish feels premium to the client, and it’s a service you can—and should—charge more for.
Mastering the three-point stretch (using your thumb and fingers to pull the skin taut) is crucial here. Taut skin creates a flat surface, which prevents nicks and allows the blade to glide smoothly for the cleanest possible line.
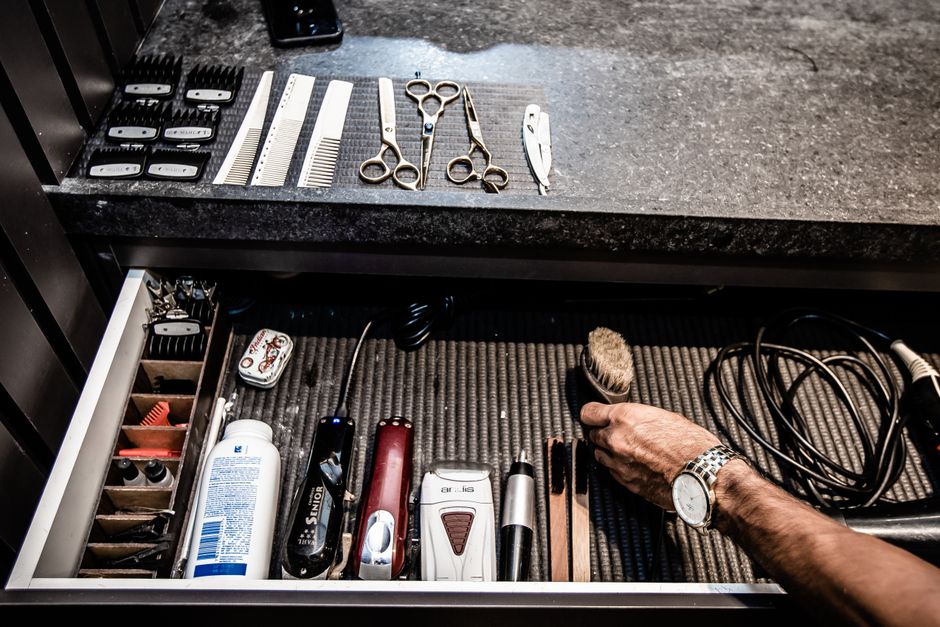
The Supporting Cast: Pre- and Post-Service Products
The tools that touch the client’s head are only part of the equation. The products you use before and after the cut demonstrate your commitment to a high-quality, comfortable service.
Prep Products
For clients with soft, hard-to-tame hairline hair, a light mist of a holding spray (like a spritz) can work wonders. It gives the hair just enough rigidity to stand up to the trimmer blade, preventing it from being pushed around and resulting in a much crisper initial line. For a straight razor lineup, a high-quality, clear shave gel is a must. It provides lubrication to protect the skin and allows you to see the line you’re tracing perfectly.
Aftercare Products
This is a critical, often-overlooked step. Wiping away loose hairs with a neck duster is standard, but what comes next? Applying a quality antiseptic like witch hazel or a soothing, alcohol-free aftershave balm does more than just feel good. It cleanses the pores, calms the skin, and helps prevent razor bumps and irritation. This small gesture shows the client you care about how their skin feels hours after they leave, not just how the cut looks.
Business Insight: The aftercare step is a prime retail opportunity. When a client asks, "Wow, what is that? It feels great," you have the perfect opening. Stocking the aftercare products you use is an easy way to add a few extra dollars to your ticket. It’s a natural upsell that provides genuine value to your client.
The Upgrades: Enhancements for a Flawless Finish
For clients who want that extra pop, especially for an event or photos, offering enhancements as an add-on service can be a significant revenue booster. These tools require skill and subtlety to look professional, not theatrical.
An airbrush compressor with semi-permanent color is the industry standard for applying sharp, defined enhancements that look clean and last for a few days. The key is to use it to complement your work, not create a hairline that isn't there. Use stencils or a business card to create sharp lines and blend the color for a natural, fuller appearance.
For those hesitant about color, hair fibers are another great option. They cling to existing hair to create an appearance of density and can help sharpen a lineup in a less permanent way.
Business Insight: Don't give these services away for free. Your time, skill, and the cost of the products are valuable. Clearly define "Lineup with Enhancements" as a separate, premium option on your service menu. Using a booking platform like REZVA makes this simple, allowing clients to see and select these valuable add-ons right when they book, so the price expectation is set from the start.
Your Lineup is Your Business Card
At the end of the day, your toolkit is an extension of your skill. A sharp lineup is a walking advertisement for your barbershop. It’s what gets you tagged in Instagram stories and what makes a stranger stop your client on the street to ask, "Who cuts your hair?"
Investing in quality tools, mastering the techniques for using them, and building a complete service experience—from prep to aftercare—is what builds a loyal clientele. Don’t just cut hair; craft an experience and a result that speaks for itself. That sharp edge is your signature—make sure it’s flawless.
Frequently Asked Questions
Q: Is a straight razor lineup necessary for every client?
A: Not at all. It's a premium finish that should be based on client preference and skin sensitivity. For many clients, especially those with sensitive skin, a perfectly executed lineup with a zero-gapped trimmer and a foil shaver provides a beautiful, sharp finish without the potential for irritation. The key is to consult with your client and offer options.
Q: How often should I clean and replace my trimmer blades?
A: You should be cleaning and disinfecting your blades after every single client—that's non-negotiable for sanitation. As for replacement or sharpening, it depends heavily on your client volume. A good rule is every 3-6 months for a busy barber. The moment you feel a blade starting to pull or snag hair, it's time. A dull blade is bad for the client's skin and your reputation.
Q: What's the best way to introduce enhancement services without seeming pushy?
A: Education and context are everything. Frame it as an optional upgrade. While finishing the cut, you can say something like, "Your line is sharp, but if you want to give it an even bolder, photo-ready look for the weekend, we can add a light, natural enhancement." Having portfolio pictures on your phone or tablet to show a before-and-after is powerful. It’s not about fixing a flaw; it’s about offering an upgrade to an already great cut.
Offer Barber? Take bookings online, free.
REZVA helps specialists manage bookings, cut no-shows, and grow their business. Free to start, no booking fees.