How to Shoot Lash Content That Actually Gets You Booked
Hello, fellow artists. Sophie here. In my world of hair color, I live by a simple rule: the work isn't truly finished until it’s beautifully captured. A flawless balayage can look flat under bad lighting, and the same is true for your incredible lash work. You can create the most perfect, fluffy set of volume lashes, but if the photo doesn't do it justice, you're missing a massive opportunity to grow your business.
Our social media feeds are our modern-day portfolios. For lash artists, a stunning photo is more than just a picture; it’s a testament to your skill, your precision, and your artistry. It’s what convinces a potential client to stop scrolling and start booking. I’ve spent years perfecting how to photograph hair, and I want to share the core principles that translate directly to capturing the intricate beauty of your lash sets. Let's dive into how you can turn your client photos from simple snapshots into powerful marketing tools.
Prepping for the Perfect Shot: The Foundation of Flawless Photos
Great photography starts long before you pick up your phone or camera. Just as we prep a canvas for color, you need to prep your client and your space for the photo. A little bit of groundwork here makes a world of difference in the final image.
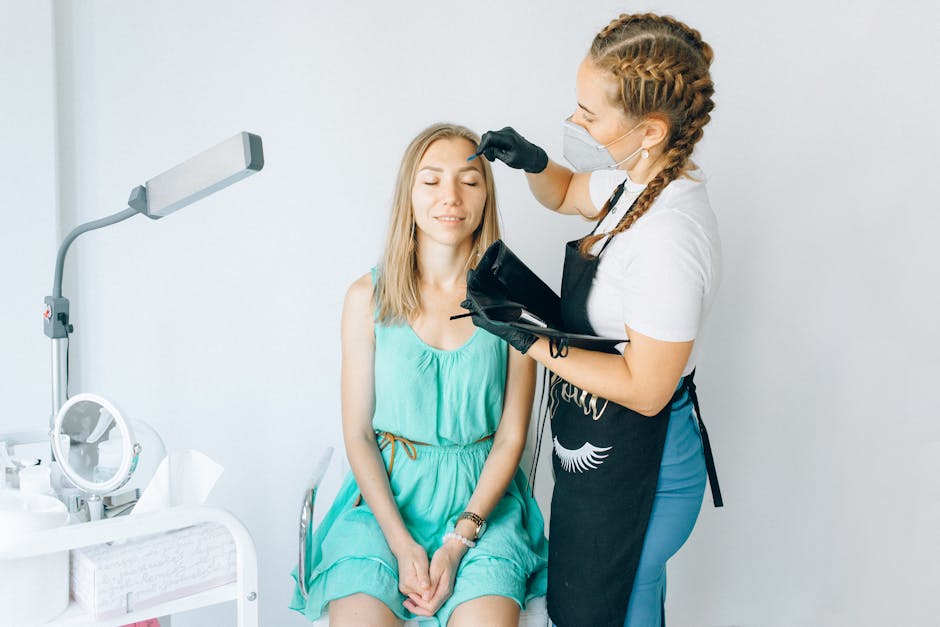
Client & Lash Prep
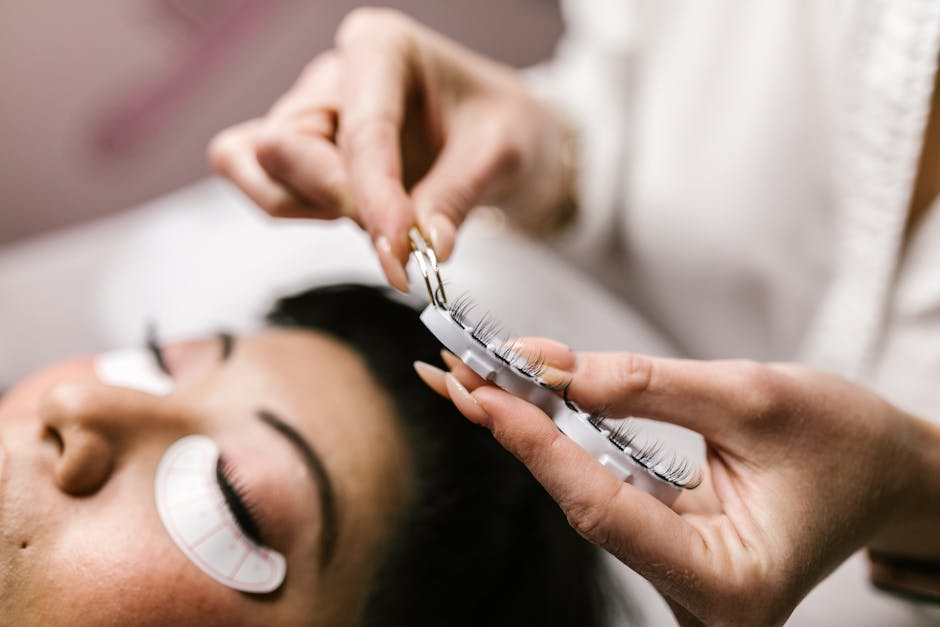
The star of the show is, of course, the lashes. Ensure they are pristine. After the service, give them a final, gentle brush-through with a clean spoolie to fan them out perfectly. Make sure there’s no residual adhesive visible and the lashes are separated and fluffy. I also recommend having some oil-free makeup remover and cotton swabs on hand. Gently clean up any smudged liner or mascara from the lower lash line or any makeup fallout on the under-eye area. A clean canvas makes the lashes pop.
Creating the Right Environment
Your background matters more than you think. A cluttered, distracting background cheapens your work. You want something that complements your brand and allows the lashes to be the focal point. Consider these options:
- Simple & Clean: A clean, white pillowcase or a soft grey blanket over your lash bed is often all you need. It’s professional and timeless.
- Branded Touch: A custom pillow or headrest with your salon logo subtly in the background can be a great branding move.
- Textured & Luxe: A velvet or silk pillowcase in your brand’s color palette can add a touch of luxury and visual interest without being distracting.
Whatever you choose, make sure it’s clean, wrinkle-free, and consistent across your photos to help build a cohesive and professional-looking social media feed.
Mastering the Technicals: Lighting, Angles, and Gear
This is where the magic happens. You don’t need a thousand-dollar camera to take incredible photos, but you do need to understand the fundamentals of lighting and composition. Your smartphone is an incredibly powerful tool if you know how to use it.
Lighting is Everything
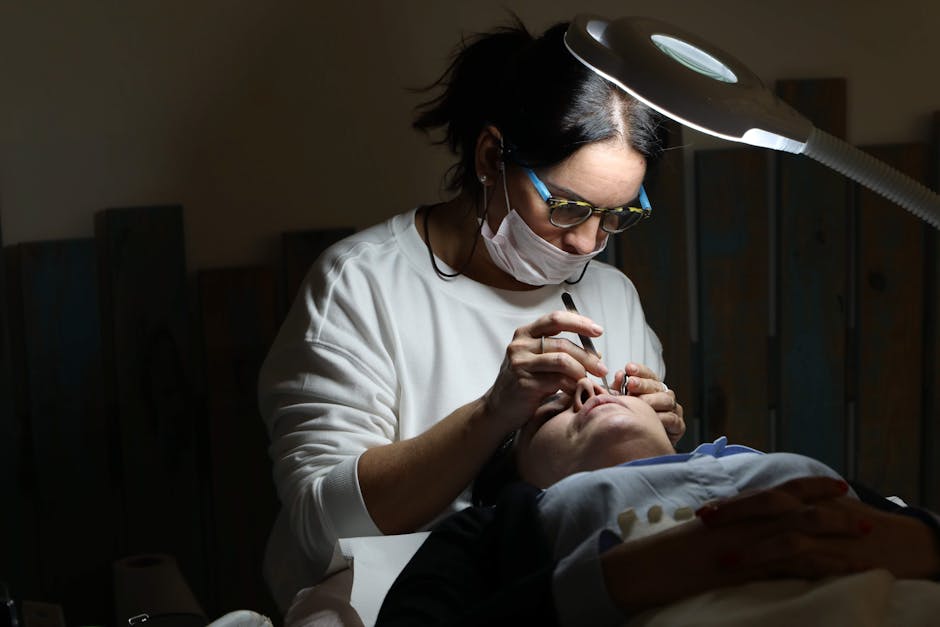
If you take away only one thing from this article, let it be this: good lighting is non-negotiable. Harsh overhead salon lights create unflattering shadows that can hide the density and fluffiness of your volume fans. Natural light is beautiful, but it's inconsistent. Your best investment? A ring light or a softbox.
- Ring Lights: These are a lash artist’s best friend. They provide even, diffused light that minimizes shadows and creates that beautiful, crisp catchlight in the client’s eyes. Position the light directly in front of the client's face for those stunning open-eye shots.
- Softboxes: For a softer, more directional look, a softbox can be fantastic. It mimics natural window light and can be used to create more dramatic, dimensional photos.
Experiment with the brightness and position of your light. You want to illuminate the lashes clearly without blowing out the client's skin or creating a glare.
Finding Your Signature Angles
Consistency in your angles helps build a recognizable brand style. Master these three key shots for a well-rounded portfolio:
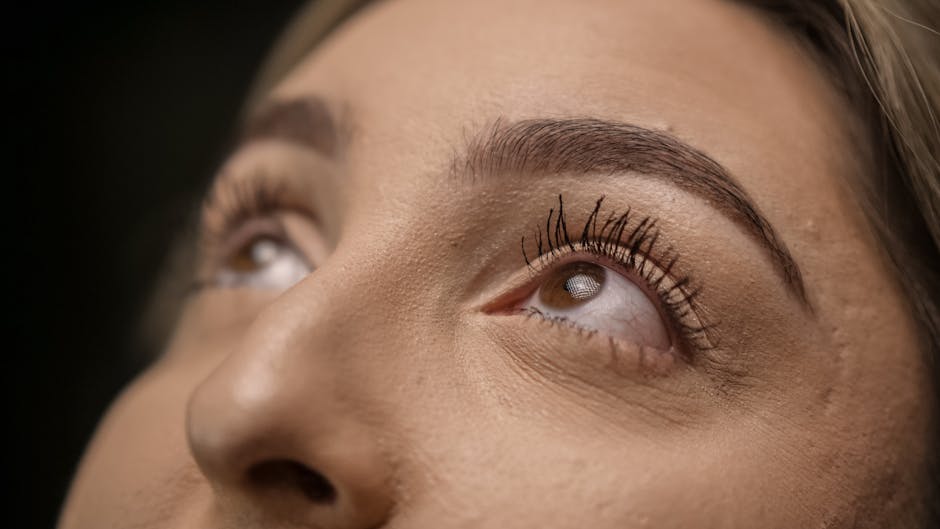
- The Top-Down View (Eyes Closed): This is your money shot for showcasing technical skill. It highlights the clean attachment, the perfect lash line, and the evenness of your fans. Have the client lie flat and shoot directly from above. This angle is all about precision.
- The 45-Degree Angle (Eyes Open or Closed): This angle is perfect for showing off the curl and lift of the set. It gives a sense of the lashes' dimension and how they frame the eye.
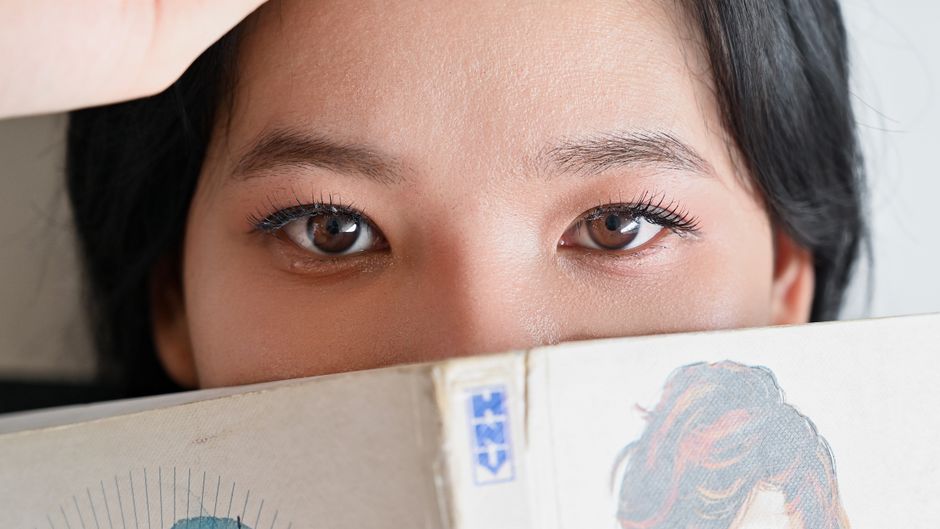
- The Straight-On Shot (Eyes Open): This is the "after" shot that clients love to see. It shows the full transformative effect of the lashes. Have the client look directly into your camera (or slightly above it) to capture the full, beautiful result.
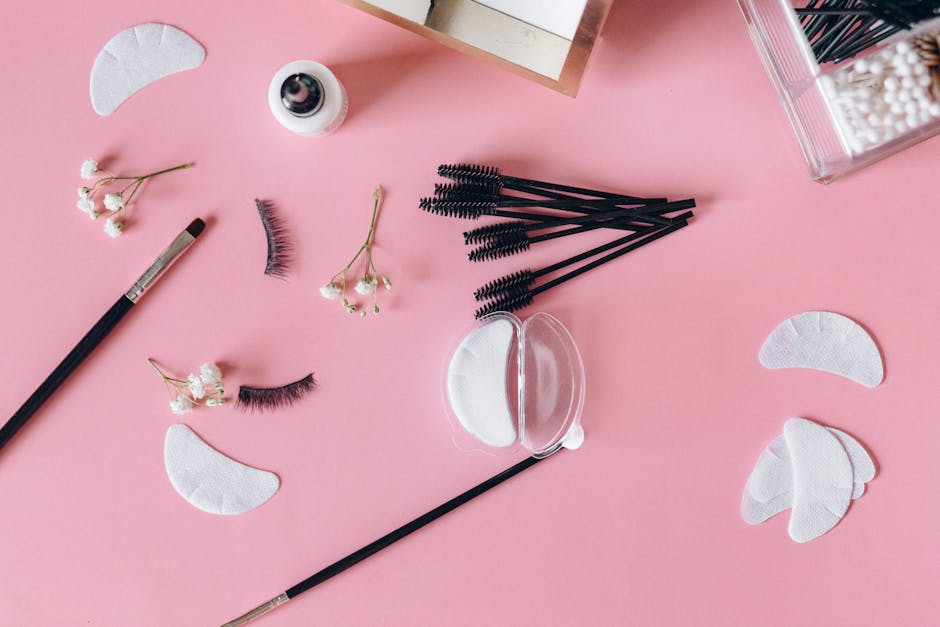
Essential (and Affordable) Gear
Forget the bulky DSLR. Your modern smartphone is more than capable. To take it to the next level, I highly recommend investing in a clip-on macro lens. This is an absolute game-changer for lash artists. It allows your phone to focus incredibly close, capturing every delicate fiber and the intricate structure of your handmade fans. They are inexpensive and will elevate the quality of your photos tenfold.
The Art of the Edit: Enhancing, Not Altering
Editing is not about changing your work; it's about presenting it in the best possible light. The goal is a clean, professional image, not an overly filtered or fake one. Authenticity is key to building trust with potential clients.
Subtle Tweaks for a Polished Look
I use apps like Adobe Lightroom Mobile for color and light correction and Facetune or Snapseed for minor touch-ups. Here’s what I recommend focusing on:
- Brightness & Contrast: Slightly increase the brightness to make the image feel fresh and clean. Add a touch of contrast to make the lashes stand out against the skin.
- Sharpening: Use the sharpening tool judiciously. Apply it only to the lashes themselves to make them look extra crisp and detailed.
- Minor Blemish Removal: It’s okay to remove a small, temporary blemish on the skin or slightly brighten the sclera (the whites of the eyes) to make them look clearer.
- Color Correction: Adjust the white balance to ensure the skin tones look natural and not too yellow or blue from your artificial lighting.
What to avoid: Never, ever edit the lashes themselves. Don’t use a filter that blurs the details, and never add or fill in lashes digitally. Your photos must be an honest representation of your skill.
From Photo to Profit: Leveraging Your Content for Growth
Taking a great photo is only half the battle. Now you need to use that content to drive business. Your stunning portfolio is your number one tool for attracting dream clients who value quality work.
Post your best work consistently. Use before-and-after carousels to show the transformation. In your captions, don't just say "Volume Set" — educate your audience! Mention the curl, lengths, and mapping style you used (e.g., "A gorgeous D-curl volume set using a 9-14mm cat-eye map to elongate the eye"). This positions you as an expert.
Most importantly, make it easy for inspired followers to become paying clients. Your call to action should be clear: "Ready for your own custom set? Tap the link in my bio to book!" A polished portfolio drives bookings, and a seamless system like REZVA ensures you can convert that interest effortlessly. It allows clients to go from admiring your work to securing their appointment in just a few clicks, helping you turn that beautiful content into tangible business growth.
Ultimately, investing time in your photography is investing in your brand. It communicates professionalism, skill, and a commitment to quality that will attract the clients you want and deserve. So get your ring light ready, and start capturing the incredible art you create every single day.
Frequently Asked Questions
Do I really need a professional camera for good lash photos?
Absolutely not! A modern smartphone camera is more than powerful enough. The key is to master lighting and composition. Investing in an inexpensive clip-on macro lens for your phone will make a far bigger impact on your lash photos than buying a complex DSLR camera you don't know how to use.
How can I make my clients feel more comfortable when I'm taking photos up close?
Communication is everything. Let them know beforehand that you’d love to take some photos of the finished set for your portfolio. Explain what you're doing as you do it ("I'm just going to get a quick shot from above with your eyes closed"). Show them the photos afterward—they're usually thrilled to see the result! A relaxed client makes for a much better photo.
Should I put a watermark on my photos?
Yes, but keep it subtle. A small, semi-transparent logo or your Instagram handle in a corner is a great idea. It protects your work from being stolen and used by others, and it consistently reinforces your brand identity every time the image is shared. Avoid large, distracting watermarks that cover the lash work itself.
Take lashes & brows bookings online, free.
REZVA helps specialists manage bookings, cut no-shows, and grow their business. Free to start, no booking fees.