4 Pro-Level Acrylic Techniques Clients Will Pay For
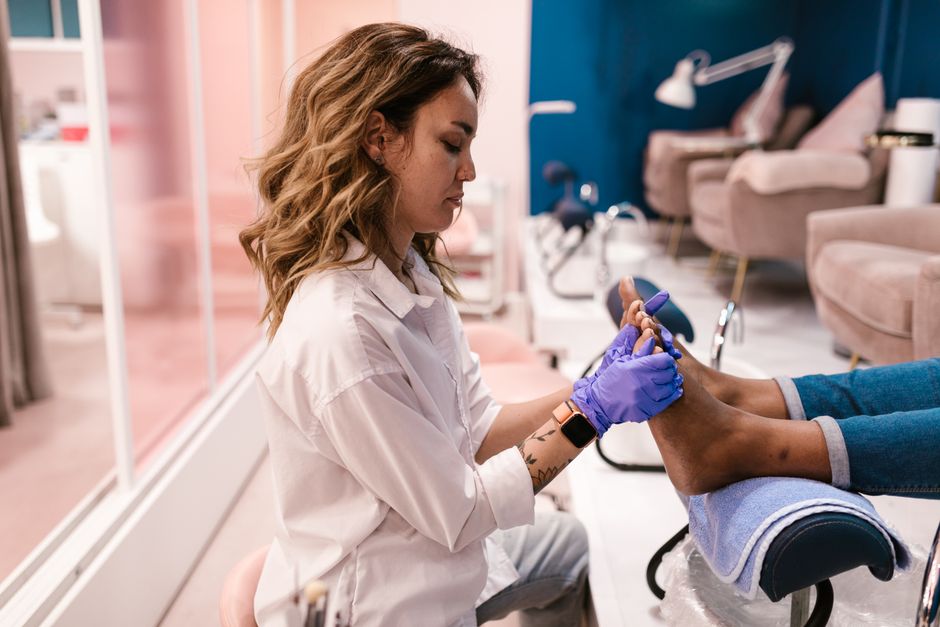
Hello, fellow professionals! Valentina here. Over my decade in this incredible industry, I’ve seen trends come and go, but one service remains a constant powerhouse: acrylic nails. They are the foundation of so many creative and structural nail services. But in a market filled with talent, simply *offering* acrylics isn’t enough. To truly build a premium brand, command higher prices, and keep clients coming back, you must master the art and science behind a flawless set.
It’s not just about creating a beautiful nail; it’s about creating a durable, comfortable, and perfectly structured enhancement that stands the test of time. Today, I want to move beyond the basics we all learned in school and dive into the nuanced techniques that separate a good nail tech from a great one. Let’s talk about the details that elevate your work and, ultimately, your business.
The Foundation: Perfecting Your Liquid-to-Powder Ratio
Everything in acrylics begins with the bead. The consistency of that single bead dictates the entire application. If it’s too wet, it will flood the cuticle and sidewalls, leading to lifting and a messy cleanup. If it’s too dry, it will be difficult to pat into place, creating a lumpy, uneven surface that requires excessive filing. Mastering your ratio is non-negotiable.
I encourage my students to practice creating three distinct bead types:
- The Wet Bead: A higher liquid-to-powder ratio. This bead is glossy and has more movement. It’s perfect for intricate design work, creating a base for chrome powders, or for the final "capping" layer in an encapsulation. Use it sparingly and with control.
- The Medium Bead: The workhorse of your application. This is your ideal consistency for building structure. The bead should be round, hold its shape, but still have a creamy, easy-to-press texture. It should look satin, not overly glossy or chalky. This is the ratio you should aim for 90% of the time.
- The Dry Bead: A higher powder-to-liquid ratio. This bead is stiffer and used for building out length quickly or for 3D art. It requires a faster hand as it sets up quickly. It's great for the tip of a sculpted extension where you need immediate stability.
Business Tip: Don't be afraid to invest in high-quality EMA monomer and polymer from a reputable professional brand. Cheaper products often have inconsistent setting times and milling, which makes achieving the perfect ratio a constant battle. Your consistency as an artist depends on the consistency of your products.
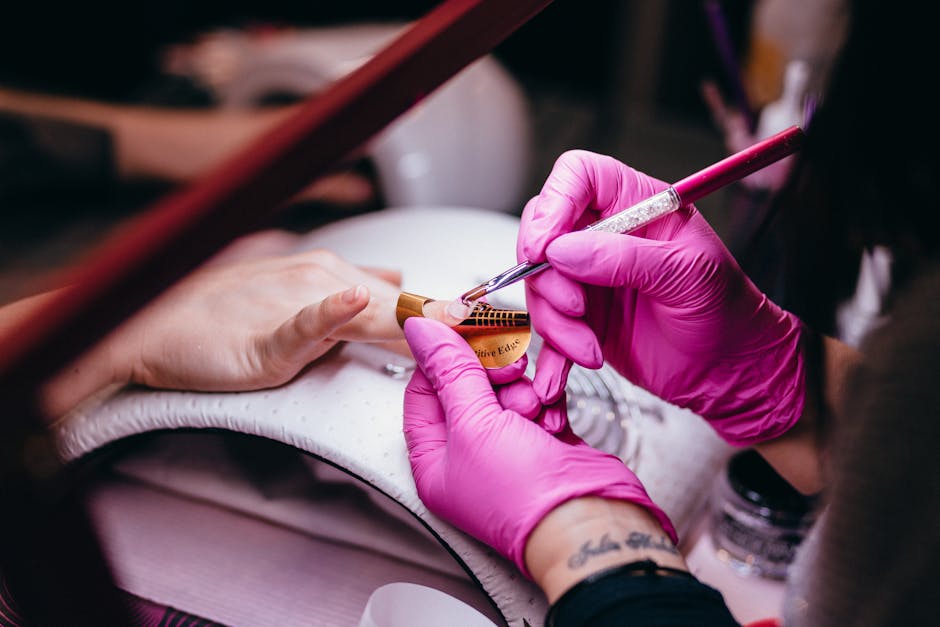
The Art of Application: One-Ball vs. Multi-Ball Method
Once you’ve mastered your bead, the next step is application strategy. The two dominant methods are the one-ball and the three-ball (or multi-ball) method. Neither is "better" — they are simply different tools for different jobs. A true professional knows when to use each.
The Three-Ball Method
This is often the first method we learn. It involves placing three separate beads to build the nail structure:
- Bead 1 (Tip/Free Edge): Placed at the smile line or tip to build out length and the initial shape.
- Bead 2 (Apex/Stress Area): A larger bead placed in the center of the nail to build the apex, or the highest point, which provides strength.
- Bead 3 (Cuticle Area): A smaller, drier bead placed near the proximal nail fold, carefully tapered to be flush with the natural nail to prevent lifting.
This method offers incredible control and is fantastic for beginners or for clients with challenging nail beds (like very flat or ski-jump nails) where precise structure is critical.
The One-Ball Method
This is an advanced technique that, once mastered, is a game-changer for your service time. It involves picking up one large, perfectly controlled bead and placing it in the center of the nail. From there, you use the body of your brush to push the product toward the cuticle area and pull the remainder down toward the free edge. This creates the entire nail structure in a single, fluid motion.
Mastering this requires an intimate understanding of product consistency and pressure. It's ideal for fills and for standard overlays on well-shaped nail beds. The time you save on application and filing is significant, allowing you to see more clients per day.
Structuring for Success: Apex Placement and the C-Curve
A beautiful acrylic nail is an architectural marvel in miniature. The structure is what ensures it lasts for weeks without breaking. Two key elements define that structure: the apex and the C-curve.
The Apex: This is the highest point of the arch of the nail, typically located in the back third of the nail plate. It is not a hump in the middle. The apex provides a balancing point and absorbs pressure from daily impacts. Without a correctly placed apex, the nail is weak at the stress point (where the free edge meets the nail bed) and is prone to cracking. When viewing the nail from the side, you should see a gentle, elegant curve that flows seamlessly from the cuticle to the free edge.
The C-Curve: When viewed from the tip, the nail should have a deep, consistent curve, like the letter "C". This curve provides tensile strength and creates a slender, less "bulky" appearance. You can enhance the C-curve by gently pinching the nail with your fingers or a pinching tool as the acrylic begins to set. A strong C-curve is a hallmark of high-quality, professional work that clients can see and feel.
Business Tip: Educate your clients! When they compliment your work, explain why it's so strong. Mention the apex and C-curve. This positions you as an expert, not just a painter, and justifies your premium pricing.
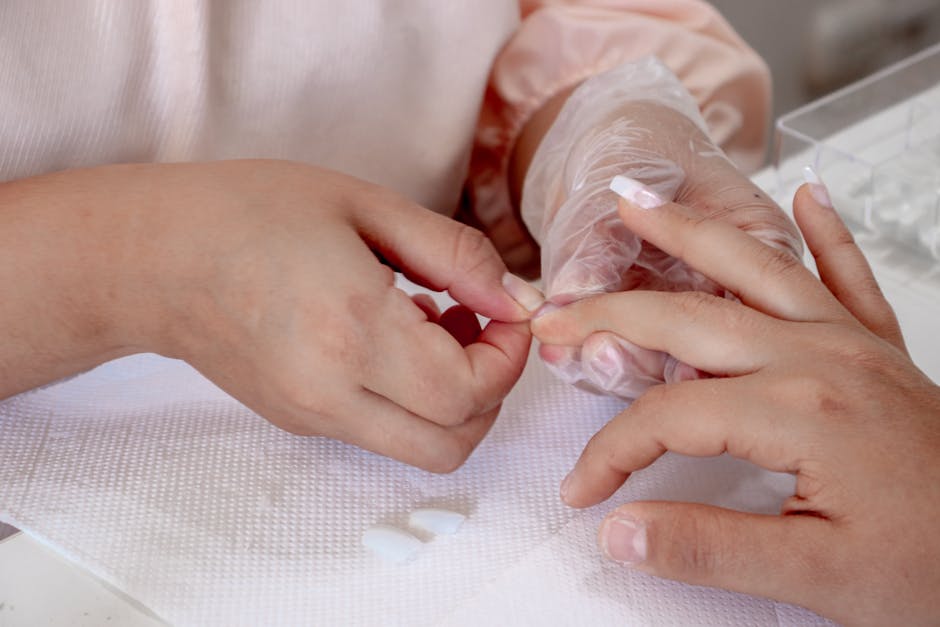
Finishing School: The Power of Refined Filing
Your application could be perfect, but if your finishing is sloppy, the entire service is compromised. This is where you refine your art into a masterpiece.
I am a firm believer in using both an e-file and a hand file for the perfect finish.
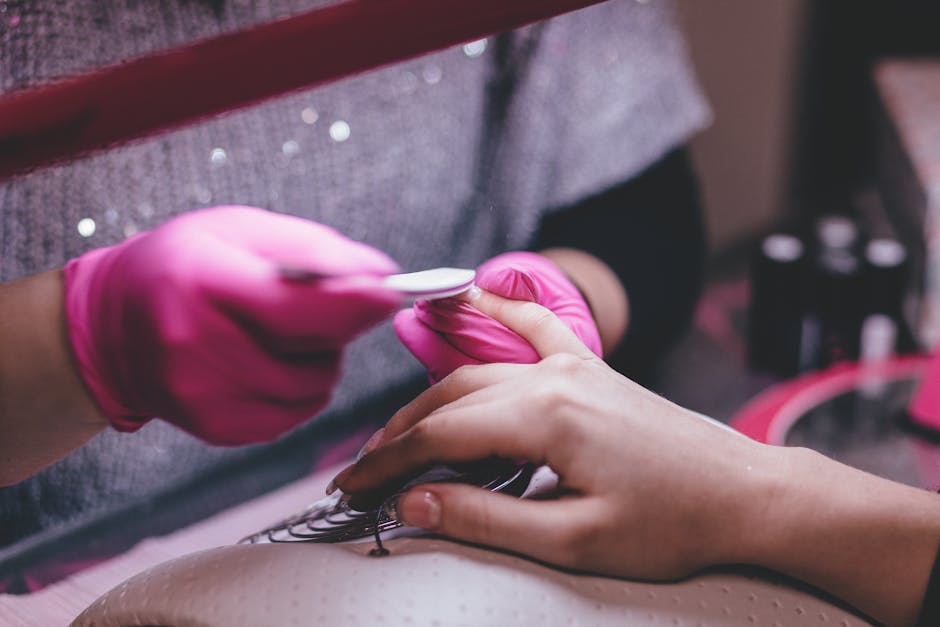
- E-File: Use a carbide or ceramic bit to quickly de-bulk the nail, define the shape, and thin out the product around the cuticle area for a seamless grow-out. A fine-grit safety bit is your best friend for getting close to the cuticle without cutting the client.
- Hand File: After e-filing, use a 100/180 grit hand file to refine the sidewalls and free edge. This gives you the crisp, sharp lines that an e-file can sometimes round off. Nothing beats the precision of a hand file for that final shaping.
When you refine your filing process, you can shave precious minutes off each appointment, allowing you to fit more clients into your day. A solid booking system is essential to manage that fuller schedule, and platforms like REZVA help you showcase your stunning work in a portfolio to attract even more clients. It’s all about working smarter, not just harder.
Finally, finish with a buffer to smooth the surface before applying top coat. A flawlessly smooth surface ensures your top coat glides on like glass, giving you that high-shine finish we all strive for.
Conclusion: From Technician to Artist
Mastering these acrylic techniques is about more than just skill; it's a business strategy. Flawless application means less filing time. Perfect structure means fewer breaks and happier, more loyal clients. A crisp finish is a walking advertisement for your work. By dedicating yourself to perfecting these core pillars of acrylic service, you elevate your craft, build an impeccable reputation, and create a sustainable, profitable business. Never stop practicing, never stop learning, and watch your artistry—and your appointment book—flourish.
Frequently Asked Questions for Nail Pros
How can I prevent acrylic from lifting near the cuticle?
Lifting is almost always a result of improper prep or application. Ensure you are meticulously removing all non-living tissue from the nail plate with a cuticle pusher and fine-grit sanding band or diamond bit. Dehydrate and prime the natural nail thoroughly. When applying your cuticle bead, make sure it is slightly drier and leave a hairline gap between the product and the skin. The acrylic should never touch the skin.
What is the best type of brush for acrylic application, and how do I care for it?
A high-quality Kolinsky sable brush is the industry standard for a reason. Its bristles hold the perfect amount of monomer and have a springy "snap" that helps press and guide the acrylic. A size #8 to #12 is most common, depending on your preference and the size of the nails you're working on. To care for it, always clean your brush in fresh monomer during and after the service. Never use acetone, as it will dry out and ruin the natural hairs. Reshape the brush to a fine point and store it flat or hanging bristles-down.
My clients complain their acrylic nails feel too thick. How can I make them look more natural?
Thickness comes from improper structure, not necessarily too much product. Focus on placing your apex correctly to provide strength where it's needed, allowing you to keep the cuticle area and free edge much thinner. Taper the sidewalls so they are crisp and not bulky. Finally, a deep C-curve creates the illusion of a much more slender and elegant nail. It's all about placing the product strategically, not just piling it on.
Take nails bookings online, free.
REZVA helps specialists manage bookings, cut no-shows, and grow their business. Free to start, no booking fees.